
I have been wanting to make these for a long time now. I have been seeing lots of different ways to use chalkboard paint. From painting the top of a dining table or craft table to painting a section of wall in the kitchen to turning silver trays into signs. I wasn't really sure where I could get the chalkboard paint from. I saw it at a hardware store, but you had to buy a quart of it. Then, I found some by Martha Stewart at Michael's and with my coupon, it was just around $5! So I got some in gray and black. In the first picture you will see the gray paint. I later decided I wanted to use the black.
What you need:
- Silver tray (I got some mine at a second hand store for around $4 a piece!)
- Spray paint in your choice of color
- Chalkboard paint
- paint brush and/or foam paint brush
- chalk


I chose 2 different colors for the frame. Blue Ocean Breeze and Watermellon. (I don't know if this is true for where everyone lives, but where I got my supplies, these exact same spray paints were $10 at Michaels and $5 at Walmart... quite the difference. I got mine at Walmart!)

I put plastic bags over the recycling bins and spray painted the trays in the driveway. Just make sure you chose a spot where you won't ruin anything if you get paint on it! Doing this in the grass is another great option, because the grass will get cut and you will never know even if you get spray paint everywhere.
I sprayed an even coat on the trays. On the pink one, I sprayed only the outside. The blue, I sprayed the whole thing. Either way, they both work!
Let it dry about 20 minutes in between each coat, or according to the directions on your spray paint. I did 3 coats of spray paint to make sure everything was fulling covered! Dry overnight.

Another trip, when I was letting each coat dry, I moved them inside the garage. You don't want little leaves or dirt being blown onto your wet paint while it dries! That is the one bad part about painting outside. But I would rather do it outside than have the fumes in the house.

Once the spray paint is completely dry, you can start the chalkboard paint. You don't need a ton of paint, so start with a small amount. You can always add more! I painted a border around the outside first so I made sure the lines were straight. Then I filled in the middle.
You need to do a good 3 coats of this as well. The first time, I couldn't get everything completely covered. But after 3 coats, everything was good! Dry overnight.

Before you start writing on the chalkboards, use the side of the chalk to rub over the chalkboard. This only needs to be done the first time you use it to condition the board. Wipe off immediately.

Now it's time to write on the boards!


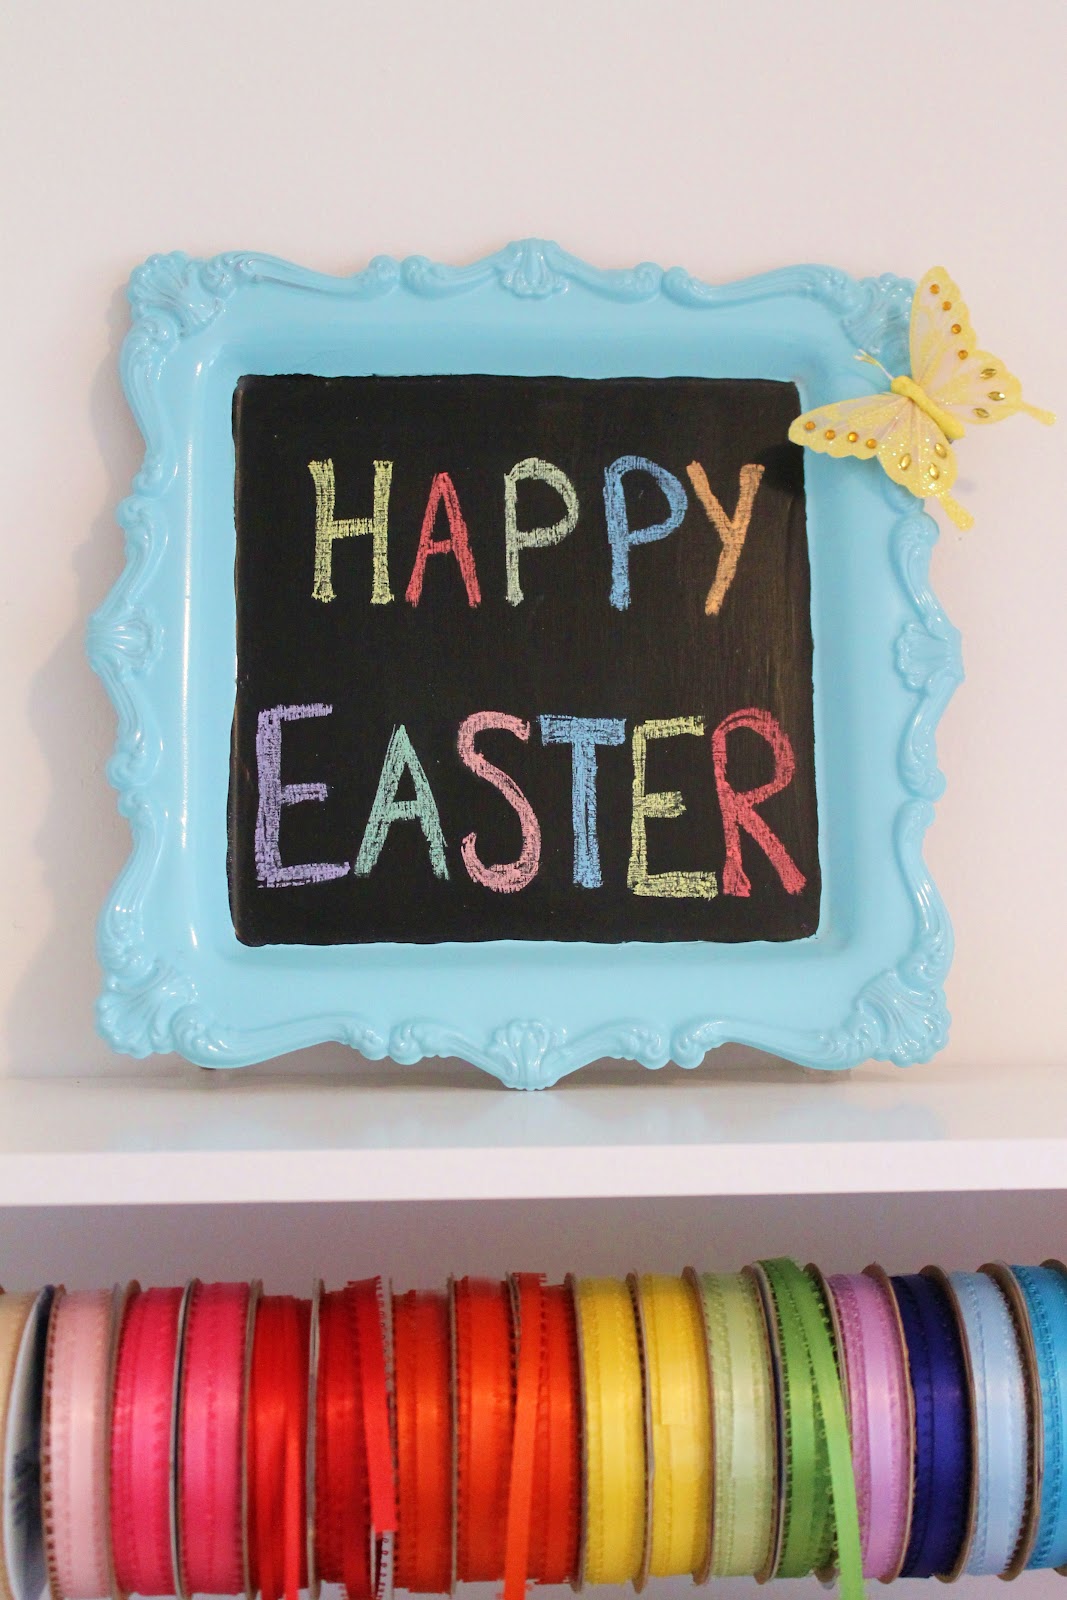
I added a butterfly clip to the side that I used for the decorative spring letter I made.

One of my favorite quotes! Desserts can be stressful! They don't always turn out how you want them to...

HAPPY EASTER!!

My sidekick laying next to my desk. :-)
No comments:
Post a Comment