Showing posts with label chocolate. Show all posts

Friday, May 25, 2012

Chocolate Almond Puff Pastry Bundles


Have you ever used frozen Puff Pastry?!  It's great!  It tastes just like homemade Puff Pastry, but without all the work!  Puff Pastry is basically lots and lots of little layers of dough and butter.  It is similar to croissant dough, but does not have any yeast.  Steam is what makes it puff up so beautifully to become light and flaky.  

These little bundles are delicious and so easy to make!  Once the Puff Pastry is defrosted, it only takes a few minutes to prepare it before it goes into the oven.  

Chocolate Almond Puff Pastry Bundles

Ingredients:
  • 1/2 cup powdered almonds
  • 2 tbsp. sugar
  • 1 egg, beaten; 2 tbsp for the almond paste and save the remaining egg for egg wash
  • Chocolate chips
  • 1 sheet of Puff Pastry, defrosted
Directions:
  1. Preheat the oven to 400°.
  2. In small bowl, mix powdered almonds, sugar and 2 tbsp. of eggs.
  3. Unroll or unfold the puff pastry, and cut it into 9 pieces, 3 x 3. 
  4. Place a small spoonful of almond paste in the middle of the puff pastry square.
  5. Put a tbsp or so of chocolate chips on top of the almond paste.
  6. Egg wash the edges of the puff pastry, and fold all the corners up and press together.
  7. Place on a baking sheet and egg wash.  Repeat until all 9 are done.
  8. Bake for about 15-20 minutes until they are golden brown.
  9. Enjoy!


Mmm... these little treats are SO easy to make!  And so delicious!  They taste like little chocolate croissants without all the work!  

Puff Pastry is so easy to use and the filling possibilities are endless!!  They can be savory or sweet!  I can't wait to try some new flavor combinations!  

I hope everyone has a nice Memorial Day weekend!!   

Friday, December 09, 2011

Edible Christmas Gifts #5 Chocolate Peppermint Cookies

It's December and it's gloomy and snowy!  We have yet to get any significant snowfall, but the past couple of days there has been snow on the ground.  It's flurrying right now as I type this.  I love the fall, but absolutely love when Christmas time comes!  My house is decorated but I am still behind on a lot of things!

I still have a pot of mums on my front porch.  Yes, I walk by it everyday and never throw it out.  Then in the back yard, our table and chairs are still out.  I think they will be ok, but we still have the umbrella up!  And that's a job for my husband.  He has been so busy lately with work and lacrosse, so he has not really had extra time for "chores" around the house.  This weekend we have nothing planned, which is very unusual for us, so hopefully we can get all that done!  Please tell me that I am not the only one who slacks a bit when the weather turns cold and all you want to do is be inside your nice warm house and bake cookies!

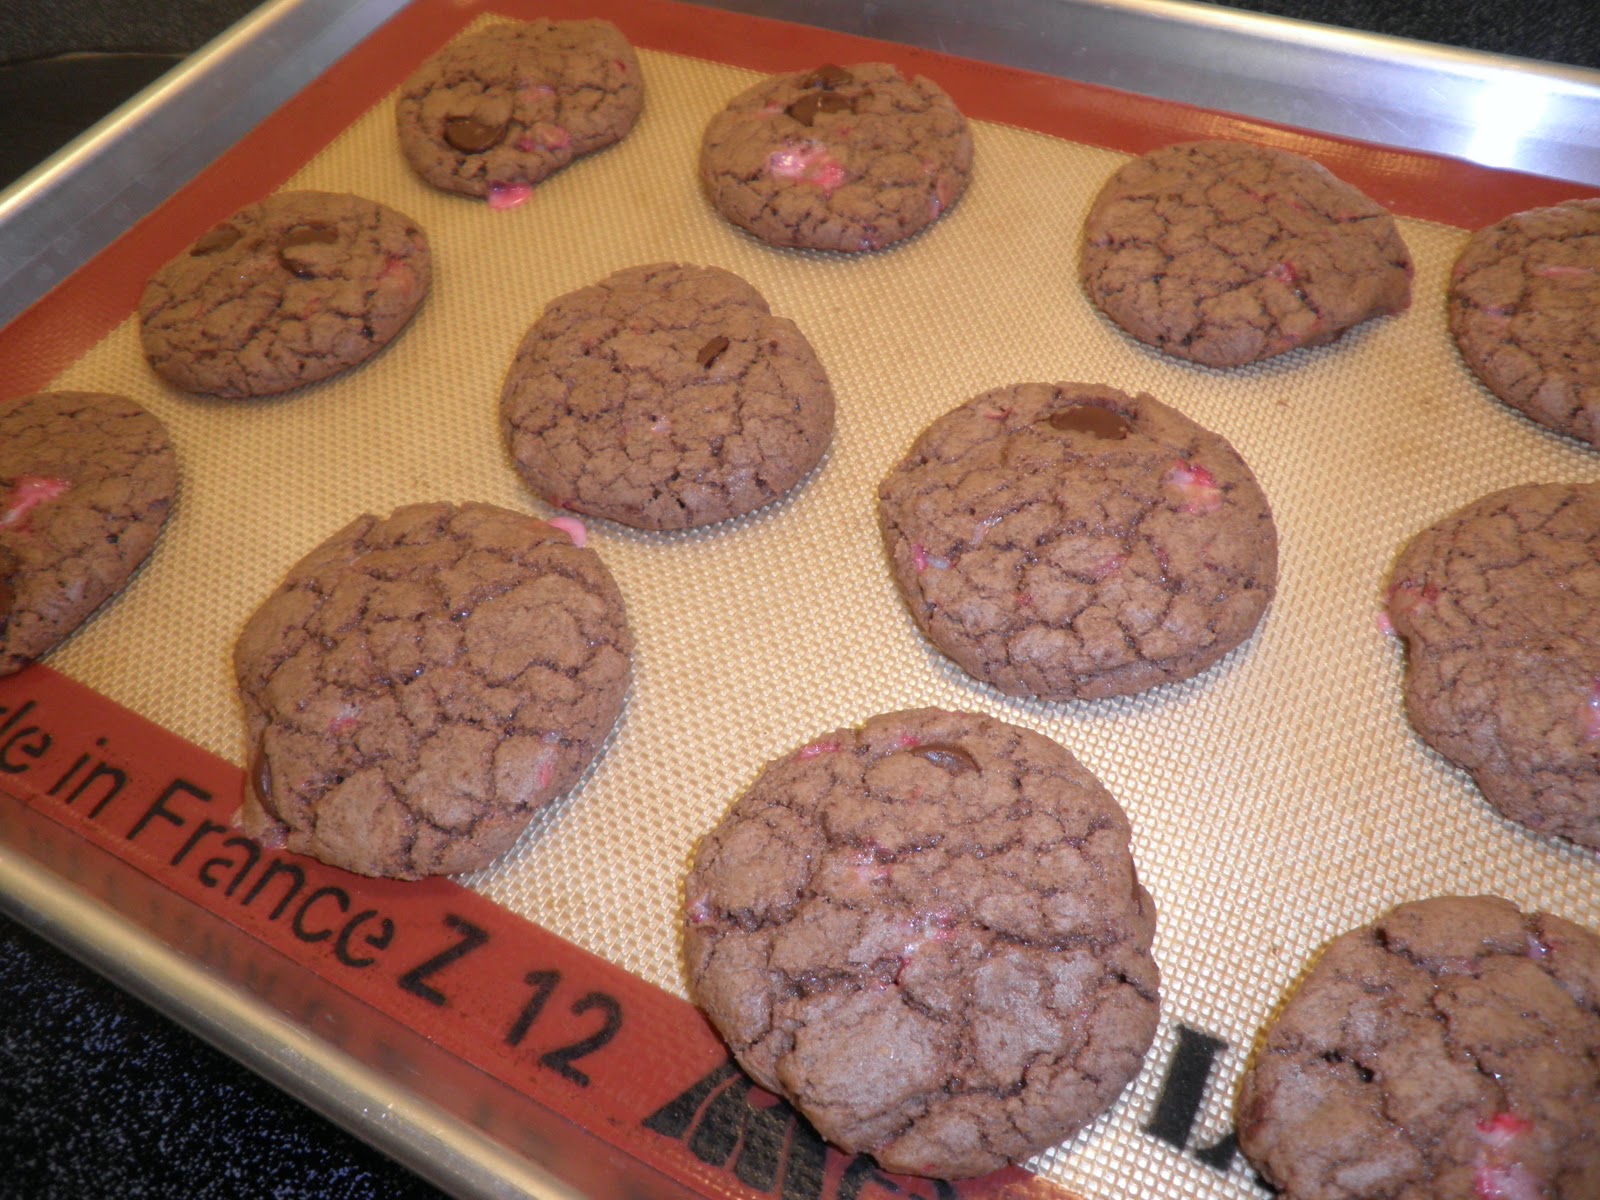
Which brings me to my next Edible Christmas Gift idea!  I make a lot of sugar cookies to decorate with royal icing, but I wanted to make something different.  These have chocolate and peppermint in them!  Yum!  These make great gifts because they will stay fresh for up to 2 weeks and they are so easy to wrap!  Also good for Cookie Exchange parties!

Chocolate Peppermint Cookies

Ingredients
  • 4 oz dark chocolate chips
  • 2 cups (10 oz.) flour
  • 2 tsp. baking powder
  • 1/4 tsp. salt
  • 3 eggs
  • 1 1/2 cups (12 oz) sugar
  • 1/2 cup (4 oz) oil
  • 2 tsp. vanilla extract
  • 1/2 cup milk chocolate chips
  • 15-20 small candy canes, crushed  (place candy canes in ziploc bag and crush with the bottom of a metal measuring cup or rolling pin)


Directions
  1. Preheat oven to 375 degrees
  2. Melt the dark chocolate over a double boiler or in the microwave.  Let cool slightly.
  3. In mixer, beat eggs and sugar until well blended.
  4. Add the oil, vanilla and melted chocolate until combined.
  5. In separate bowl, combine flour, baking powder, salt and crushed candy canes.  Gradually add to chocolate mixture, mixing just until combined.
  6. Stir in the milk chocolate chips.
  7. Roll into balls about 1 1/2 -2 inches.  Even space them on the baking sheet lined with a silpat, or parchment paper.
  8. Gently press down on the dough so they flatten out a bit.  This helps the cookies to bake evenly.
  9. Bake 10-12 minutes or until done.  


Once completely cooled, stack them in a plastic treat bag and tie with a ribbon.  Great way to give these cookies as a gift!  Or package them in a box or on a platter!  Enjoy!  

I am just finishing up some Christmas sugar cookies, so I hope to share them with you soon!  

Leave me a comment and tell me what the weather is like where you live!  Is it cold and snowy, or sunny and mild?!  

Saturday, December 03, 2011

Chocolate Covered Candied Orange Zest

Now that I have started to show you how to make some Edible gifts, I am going to show you fun and easy ways to package them!

Packaging your treats in a beautiful way is almost as important as the gift itself!  You know what they say, "You eat with your eyes first!"  And it's true!!  You want to eat something that appeals to you!

Here are a few tips for when you are packaging your treats!
  • If you have a fragile treat, take special care that you package it in a way that will not ruin all your hard work!  If it is cookies with icing on top that will get messed up, package them in a box so they can lay in a single layer, rather than stacking them!
  • On the other hand, if your treat is more stable, you have lots of options for packaging!  Boxes, bags, and tins will all work great!  The Chocolate covered candied orange zest below is packaged in a Christmas tin since they can be piled on top of each other without getting ruined. 
  • Finding packaging for your budget!  I love the dollar stores at Christmas time!  They have such great deals on packaging.  I got tins, shown below, for just $1!  So you know I had to stock up!  They also have lots of great treat bags, either clear or with pictures on them.  If you want to make something extra special and it is in the budget, you can get some beautiful packaging from stores like The Container Store, Nashville Wraps, or Sur La Table.
  • Package your homemade treats in a gift basket with a clear basket bag and tied with a beautiful ribbon!  Stuff the bottom of the basket before you add the gifts with raffia or tissue paper, then place your gifts on top.  
Photo: raffiaonline.com

  • Another alternative to a gift basket is a gift bag!  Add your goodies to the bag and then find some coordinating tissue paper to stuff in the top.  Add a ribbon to tie the handles together if you like!  Beautiful gift bags can be very inexpensive!
  • Add a pretty label so that your loved one knows exactly what you made, or who it is from.  My Own Labels has always been a favorite of mine to order pretty labels.  And they are very reasonable!!  They also have great pictures on their site for different ways to package things!  
  • If you are doing a theme gift basket, use a more creative item as the basket.  For example, if it is for a baker, use a stainless steel bowl that they will be able to use for a long time!  If it is for a hot chocolate lover, put some homemade hot chocolate mix in a pretty mug.  Every time they re use the bowl or mug, they will be reminded of your delicious and thoughtful gift!

Here are the Chocolate Covered Candied Orange Zest that I made!  See the post I made about making Candied Orange Zest and then simply dip them in melted chocolate.  I used dark chocolate here, but you can use milk or white if you prefer!  Then, I laid them down on a silpat or parchment lined baking sheet.  Once all of them are dipped, put in the fridge so the chocolate can harden.  


To package, I just lined a pretty tin with parchment paper and filled with the orange zest.  So easy right?  Anyone could do this!  These are unbelievably delicious!  I make candied orange zest every year, but I have never dipped them in chocolate before so my family is in for a treat on Christmas!


Share these delicious treats with someone you love this holiday season!  

Monday, October 03, 2011

Pain au chocolat

Hi everyone!  In the last few days the weather has gotten considerably cooler and rainy.  So after I watched my favorite football team play yesterday (Go Steelers!), I decided that I would bake something.  I always have a long list in my mind of things that I would like to try.  However, I decided on a tried and true favorite...  Chocolate croissants!! 

My love for them started in Culinary school.  The first class that I took was a bread class. I thought chocolate croissants would come later in my breakfast and pastries class.  Nope!  Much to my surprise, I was making these delicious little treats only a few weeks into school.  Every 2 month cycle (that is how long each class would last), I would go back to the breads instructor and he would give me a chocolate croissant from his demo batch.  Yum!  I was hooked!  

So when my sister gave me this book... 

Pastry: Savory and Sweet

and I found that there was a recipe for them, I had to try it!  Now this book has tons of good recipes for all things with pastry.  Pies, savory tarts, puff pastry, brioche, croissants, pate a choux (cream puffs), pizza dough and more!  If you like all those things, you would really like this book!  

Anyways... back to the croissants!

Chocolate Croissants
1 oz fresh yeast  (this really is better than the instant yeast and you can find it in most grocery stores these days by the butter)
generous 1 cup whole milk
3 1/2 cups all purpose flour
2 tsp. fine salt
1/4 sugar
1 1/4 cup butter, cold but not too hard
eggwash (beat 1 egg yolk with 1 tbsp milk)
Chocolate chips

  • Break the yeast up so it crumbles into a bowl.  Add the milk.  Let it sit for a minute or so and then mix with your fingers so the yeast dissolves.
  • Put the flour, salt and sugar into a mixer bowl.  Use a stand mixer with a dough hook.
  • Turn the mixer on low, gradually adding the yeast mixture.
  • Stop working the dough as soon as a nice ball forms and it does not stick to the sides of the bowl.  (If it is dry, slowly add a little bit of milk until it comes together.  If it is too wet, slowly add a little bit of flour.  You want it to form a ball, but not be too sticky to the touch.)


  • Cover the bowl with plastic wrap and let the dough rise in a warm place (about 75 degrees) for about 45 minutes to an hour.  It should double in size.  
  • Knock back the dough by flipping it over and letting the gases out, but do not over work the dough.  Do this gently.  
  • Cover the bowl and chill for 4 hours in the fridge.  Do not chill for more than 8 hours.  
  • Roll the dough out so it forms a long rectangle.  
  • Cut the butter in thin strips and place it in the center 1/3 of the dough.


  •  Fold one side over the butter.

  • Then fold the other 1/3 of dough on top of that.


  • First turn- turn the dough 90 degrees so that the next time you roll, you roll it in the opposite direction.  
  • Lightly flour the surface and roll out the dough just like you did the first time in a long rectangle.  
  • Fold in three.
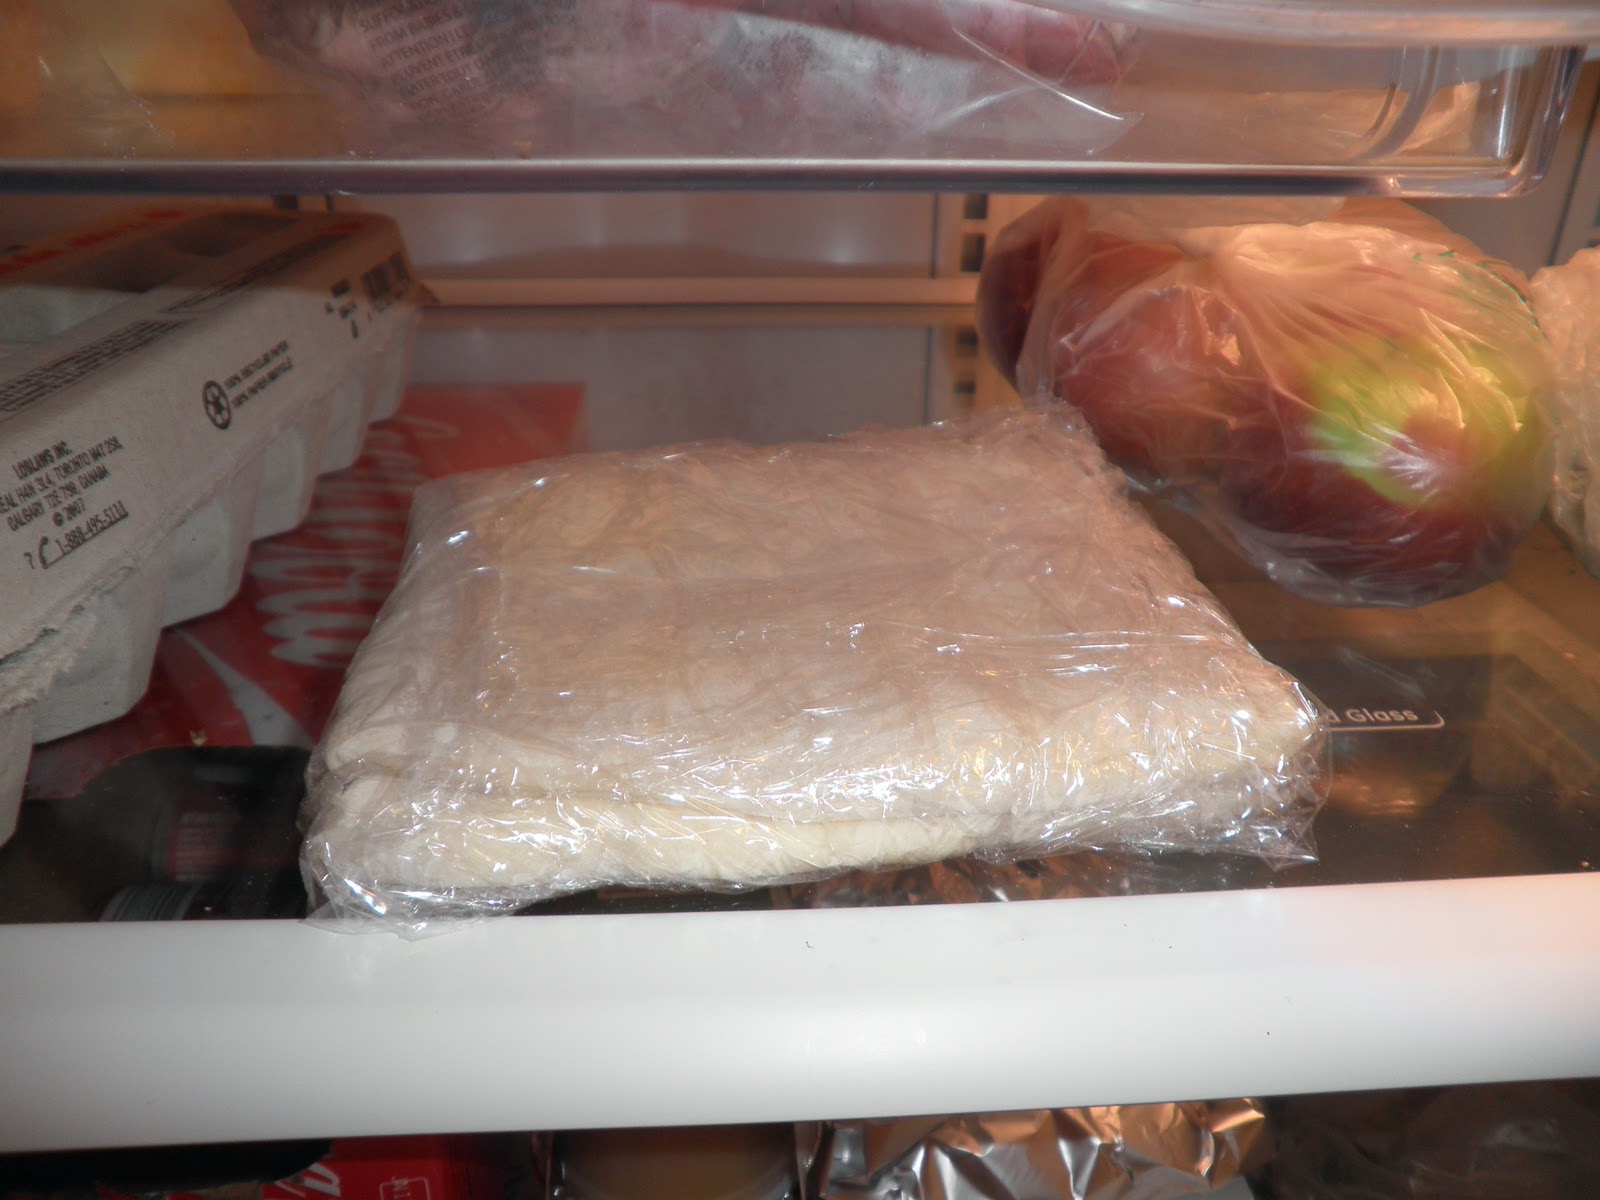
  • Wrap in plastic and chill for 30 minutes.


  • Second turn- give the dough a quarter turn, roll out to a rectangle, fold again, wrap and chill as you did for the first turn.
  • Third and final turn- roll the dough out in the opposite direction from the 2nd turn to a rectangle and fold as before.  Wrap in plastic and chill 30 minutes.  No more than 1 hour.
  • At this time, I cut the dough in half to make it easier to roll out.
  • Roll the dough out so that it is about 1/4 inch thick.
  • I cut mine into 10 even rectangles.


I usually like to use pain au chocolat sticks from King Arthur Flour, but I was out.  So I used whatever chocolate I had.  It happened to be these.  Love them!


  • I placed chocolate chips in the middle 1/3 of the dough.


  • Eggwash the bottom third of the dough.
  • Fold the top part over the chocolate, and then the bottom part with the eggwash.  This will help everything to stick together.


  • Flip them over so the seam side in down.
  • Press the edges together so no chocolate escapes during the baking process.
  • Using a sharp knife, cut a couple slits in the top so that steam can escape and they do not explode open in the oven.


  • Eggwash and proof in a warm place for 1-2 hours, so they can rise and double in size.
  • At this time, I turn the oven on to 350 degrees.  
  • Eggwash one last time before you put them in the oven for about 12-15 minutes.  You want to make sure they are a very golden brown!  There are many layers of flaky goodness in there and you want to make sure that all the layers have baked!  No one wants to eat a raw croissant!
  • Cool slightly and enjoy warm!


Look at all the flakiness! So yummy!


Now, I know this recipes takes time.  It can be intimidating the first time you try this.  But I promise, it is worth the wait and patience!  Store bought chocolate croissants do not even compare to these!  Hope you enjoy these as much as I do!

Happy baking!  :-)