Showing posts with label craft. Show all posts

Saturday, April 21, 2012

DIY- Heart String Art


If you aren't already on Pinterest, you should be!  It basically is a virtual bulletin board.  "Pinterest lets you organize and share all beautiful things you find on the web.  People use pinboards to plan their weddings, decorate their homes, and organize their favorite recipes."  -Pinterest

Check out my Pinterest here.  I have all kinds of desserts and food, crafts and DIY projects, beautiful things for the home, party planning ideas and much more on mine.  It also is a great place to get all kinds of ideas for the holidays.  

I found one of these string art projects on there and had to try one myself!  There are unlimited options for making one.  You could make one for a kids room, holiday decoration, or an initial.  A week or so ago, it was my 6 month wedding anniversary, so I wanted to make one that included our wedding date.  So I made a heart and then used a black Sharpie to write our wedding date.  

I found this wooden plaque and string at Michael's.


 I painted it blue and let it dry completely.


Once I decided that I wanted a heart shape, I cut it out of paper and taped it onto the board to show me where to hammer the nails.  I put each nail about 1/2 inch away from each other.  


After I had all the nails in, I removed the paper and started looping the string around the nails.  I went around the heart once and then did a random pattern.  I had to push the string down in some spots where I looped it around that nail multiple times.  


I was going to paint the date on the plaque, but decided that I didn't have a brush that was fine enough.  So I used a black Sharpie marker instead.  I used my KopyKake so that I could use a particular font.  But you can use a stencil and paint or free hand it... whatever works for you!  


I love all the ideas I get from Pinterest.  It is quite addicting and when I get on there, I will sometimes be on for a very long time!  But I love making things I see on there.  I joke that I am going to make so many things that I run out of room to keep them all!  But I love it.  

Are you on Pinterest?!  If so, what fun things have you seen on there that you have made or wanted to?!  

Friday, March 30, 2012

Easter & Spring Craft

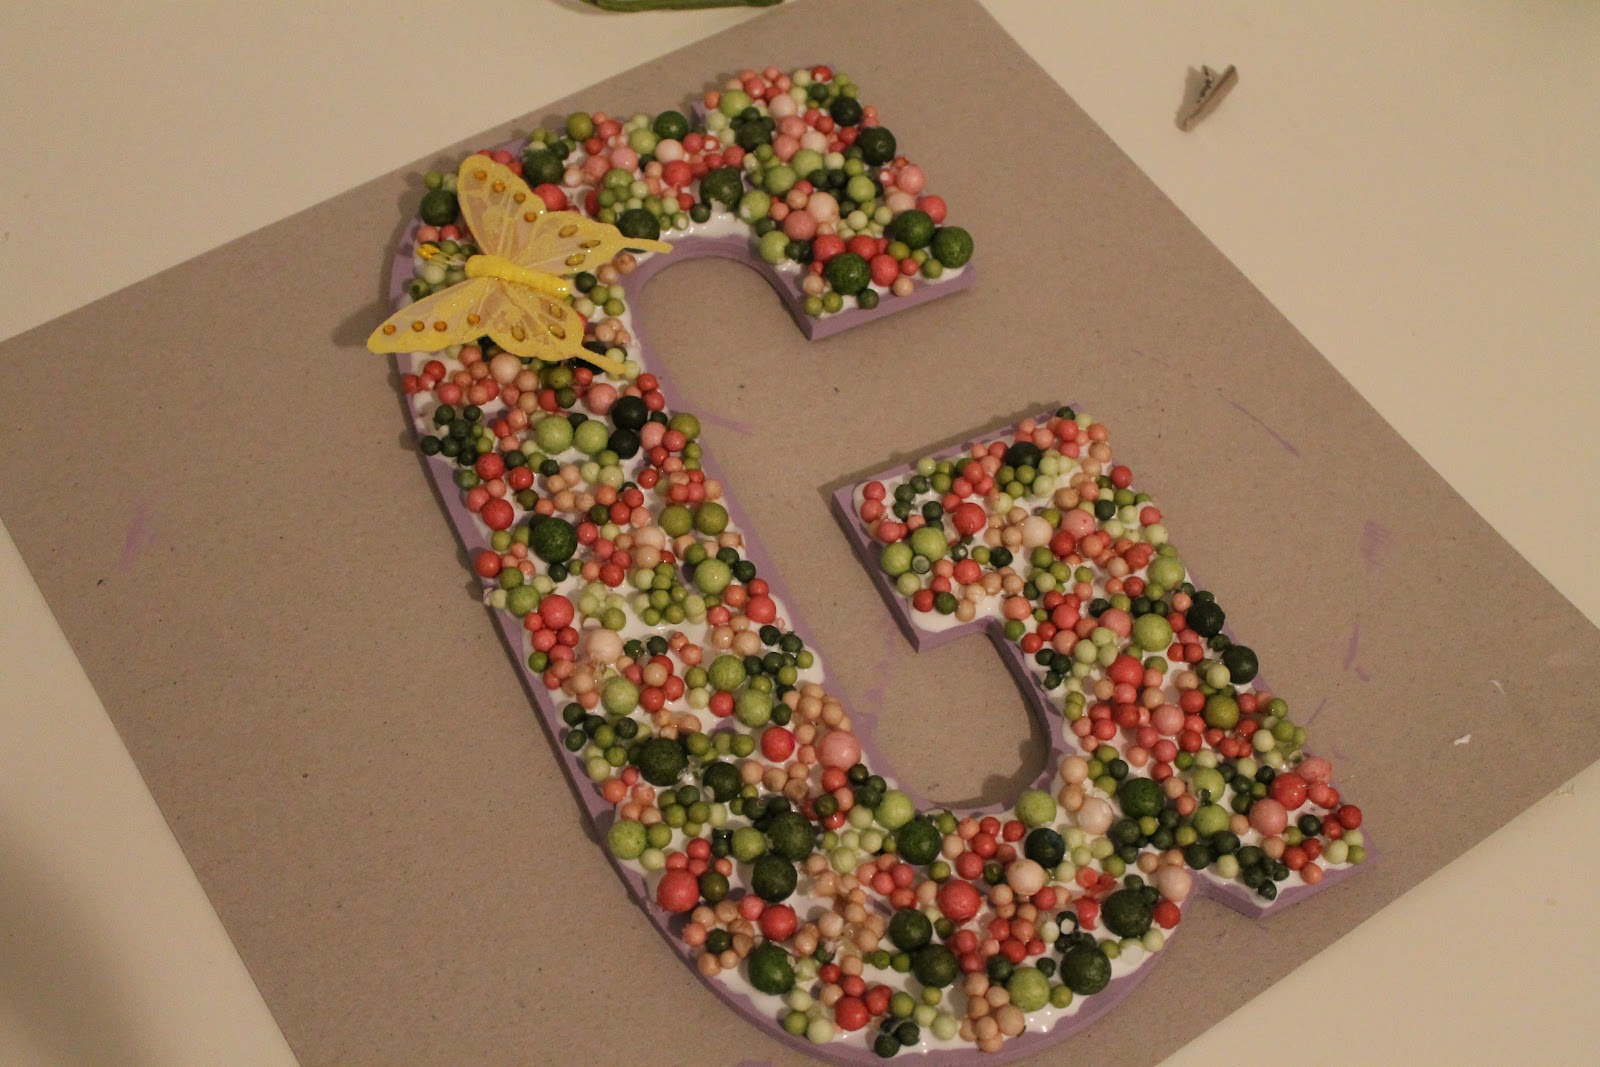
Hi there!  Time for a craft project at Desserts by Annie!  I just realized that in 2 weeks, we will have been married for 6 months!  So I have made this decorative "G" for our last name.  Just in time for Easter and Spring!  


I made one of these for winter with red berries and it lives on my t.v. console.  So when it started to warm up, I wanted to make one with more cheery colors.  Let's get started!

What you need:
  • Wooden letter (you can get these at Michael's or Walmart)
  • Paint of your choice
  • Paintbrush
  • Fake styrofoam "berries" floral  (Michael's or Walmart)
  • Tacky glue
  • Decorative butterfly


First, I painted the front and back of the G in purple.


Here are the "berries" floral and butterfly that I used.  


I used scissors to cut off branches of the floral, then gently pulled off the little styrofoam berries.  I separated most of the berries, but left some in little clusters.  Do whichever you prefer, or a mix of both like I did.


Now, when you pull apart the berries, some of the coloring will come off.  Either glue that berry white side down, or you could use a similar color marker to gently fill in the white space.  Don't worry if it's not the exact same shade.  You won't notice once everything is glued on.


Here is a berry that I colored with a pink marker.


All the berries waiting to be glued onto the "G".


I used Tacky glue to glue the berries on.  I applied it in small sections, and then placed the berries on.  I made sure to mix up all the different sizes and colors.  But you should do it however you like!

Since I use Tacky glue, it will dry clear and you will be able to see some purple in between.  So I left a little space in between some of the berries.


All the berries are glued on.


These butterflies I got had little clips on the back.  I gently pulled the clip off.  Put a good amount of glue on the butterfly, since you will be gluing it on top of the berries and it is not a smooth surface.


Place the butterfly on your letter wherever you think is best!  

Let this dry completely overnight.


Here is the finished product!  


Close up of the butterfly.  

Place this letter on a bookshelf, shelf or on your Easter dessert table!  

Saturday, January 14, 2012

DIY Valentine's Picture Frame

With all the baking I do, I like to mix it up sometimes and do other "crafty" things.  I especially like to scrapbook!  But today I wanted to make a Valentine's Day craft.  

I made this Valentines heart picture frame one other time a few years ago.  

It's a simple craft that anyone can do!  This would be fun for kids to make as their craft at a Valentine's Day party or with their siblings at home.  I made this frame and put a picture from my wedding in it.  You could make this in a larger frame (8x10) and use as a "menu" holder for a Valentines Dessert table.  No Valentine for you this year?!  That's fine... make it for your BFF and put a picture of the two of you in there!  LOTS of options!  

All you need:
  • Any picture frame with a flat, wide frame (so you can glue the candies down).  I got mine from the dollar store!
  • Paint and paint brush, optional
  • Conversation hearts
  • Glue, I used tacky glue.  But you can also use a hot glue gun, or all purpose glue.


Before you start, take the glass and backing out of the frame.  Trust me on this one.  You don't want to glue the frame to the glass by accident!  :-)

The border of this frame had a couple different "heights" so I decided I wanted to paint the inside pink.  I didn't have pink paint, so I simply mixed red and white!


This step is optional, because obviously all frames are different.  But I think the pink makes it more "Valentinesy"  Haha... I know that's not a word, but you know what I mean!


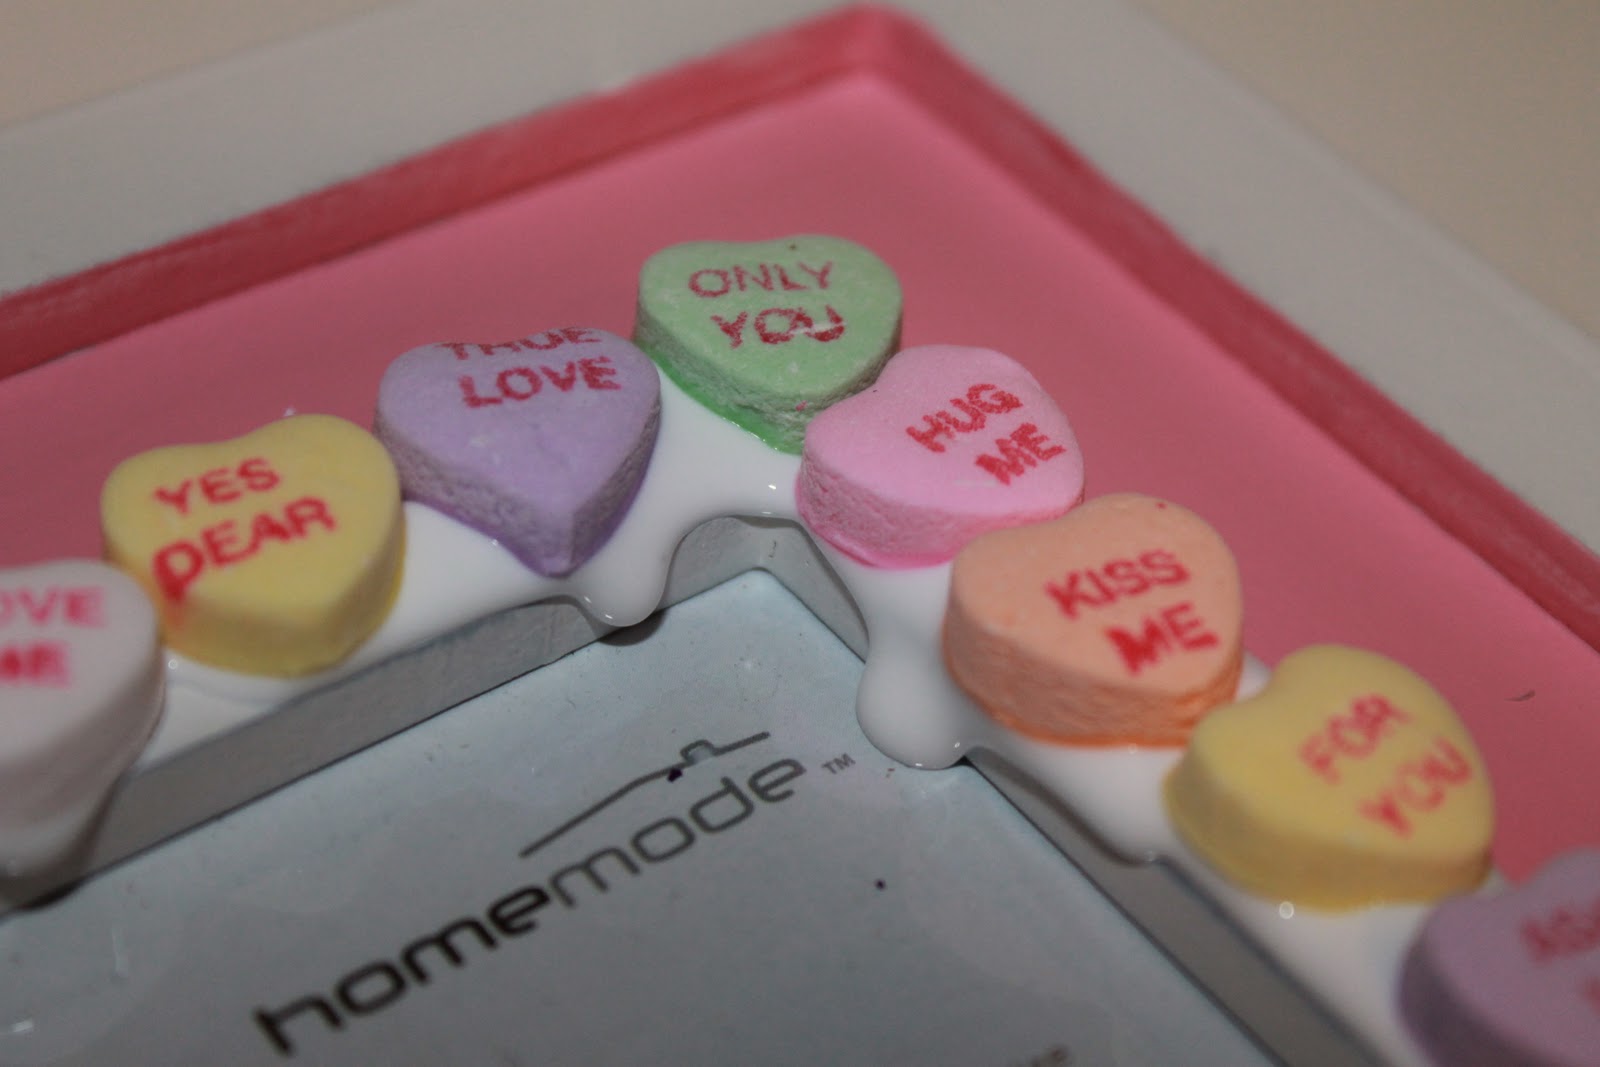
Now, I am ready to glue the Conversation hearts on.  I went through all the hearts to find the best ones.  Probably half of the package was unusable!   Oh well, I had plenty to choose from!

I started with a dab of glue, and just started to glue the hearts on.  I tried to mix it up and not have the same color too close.  But do it how you like!  Maybe you will do a pattern?  Maybe you will do it totally random! It's up to you!


I slightly rotated some of the hearts so they were not "perfectly" lined up.  Again... it's your choice how YOU do it.  This is how I did it.


Opps!!  Too much glue!  I just used a q-tip to dab up the extra glue.  The good thing is the glue dries clear, so you will never know if there is a little extra glue.  Like I said earlier, make sure to take the glass out BEFORE you start.  I took mine out at this step, but it was a little tricky since I already started gluing the hearts on.


The middle frame was done, so now I will start to outside.  I worked from the top to bottom to make sure everything fit.  


Just a tip... my hearts fit really well, and I did not have an extra open space when I was done.  But if you do, the nice thing about using the Tacky glue is that it does not dry right away so it can be forgiving.  You can space hearts out a little more, or make them a little closer if you need to at the end to fit the last heart.  A hot glue gun will dry a lot faster and it will be hard to move the hearts once you have placed them.  


I let this dry completely overnight.  This way, the hearts won't fall off when you stand it up.


Here if my finished frame!  Such a fun craft to make for Valentine's Day!  

Fun fact:  I was looking for the Conversation hearts here in Canada and was having a bit of a hard time finding some.  I finally found them and they were in French!!!  Haha, this made me laugh.  I mean, all the packaging here is in English and French, but I was not expecting the hearts to be in French too!  So I did not buy those.  I found English ones at another store!  ;-)

Let me know how you like this craft and if you try it!  

This blog will still be mostly about baking, but I like to switch it up sometimes and throw in a savory recipe or a craft as well!  Hope you don't mind :-)