Showing posts with label flowers. Show all posts

Thursday, March 08, 2012

Puppies and Tea Parties!

Hi there!  In my last post, I told you about how busy I had been and kinda slacking in the blog category.  Well, my life just got a whole lot busier on Monday, when my husband and I adopted a puppy!  We got her from the local animal shelter and she had come from a "hoarder" and she lived with 8 other dogs and an unspecified number of cats and the authorities had to come in to rescue all the animals.  She is 11 months old and has not had a lot (or any) training, so we have had a busy few days here!  The first day was really tough. She was making messes all over the house, but she has gotten better and we have not any any messes since the second day we had her!  

Coming from the environment that she did, she was and still is very shy and scared.  But she has really started to open up to us and follows us around all day long!  She really is a very sweet dog and on the 3rd day that we had her, we decided we would call her Bailey!  We have yet to leave her home alone, but when one of us leaves, she sits by the door and waits for us to get back.  Lucky for us, she doesn't bark a lot!  I have never had a dog before (only cats) so I definitely did not want a really crazy, wild dog.  She is perfect for us though!  She is sleeping right next to me as I type this.  :-)

I could go on and on about her, but I won't bore you too much!  I feel like a proud Mama talking about her baby! :-)  So I will share a couple pictures of her during her first days with us.


Now for the cookies!  My Mother in law's dear friend is about to be a Grandma for the first time.  So I made these for her daughter in law's baby shower.  They were having a tea party and the Mom to be loves tulips, so I made to make some of those!  I also did some brush embroidery on them.  It has become a very popular trend in the cookie community and I love this technique!

Hope you enjoy them!

Teapots, tea cups and flowers!


I love how these flowers turned out!


This was my favorite cookie out of the bunch!


I just made some Challah bread last night that was so yummy!  My hubby said it was the best bread I ever made!!  I happen to love Challah bread too!  The loaf is almost gone 24 hours later, it is that good!  Look for the recipe on here soon!  

So tell me, do you have a dog?!  Any advice for a new Dog Mama?!  I would LOVE to hear it!!  Leave me a comment below!


Thursday, August 25, 2011

It's been awhile...

Hi everyone! I know it has been awhile, but I am back and I have lots of exciting things coming up in the next few months.  Lots of cookies on the way!  


This was the first big cookie order that I shipped.  4 dozen.  I was a bit nervous because I had shipped a small order one other time, and a couple of the cookies broke.  These cookies were shipped from Pennsylvania to North Carolina and every single one made it there safely!  Phew!  


Enjoy!  Keep an eye out because I have lots of new and fun cookies coming this way!


Thursday, July 14, 2011

Monday, June 27, 2011

Girly cookies


I made these cookies for an girl's 8th grade graduation.  They wanted flowers, butterflies and other decorated cookies in a pink and black color scheme.  I baked all the cookies and now it is time to ice them!  I will show you step by step how I decorate these cookies with royal icing.


In order to see the different petals once its dried, I piped every other petal and let it dry for about 30 minutes.  


Then, I went back and piped the other petals.  First, I outlined the area that I wanted to ice.


Then, I immediately fill in the petal, so you can't see the outlining once it has dried.


Then, once I have iced all the cookies, I let them dry overnight to make sure they are completely dry before I decorate them.

Here I have the 3 colors that I will decorate the iced cookies with.  Black, white and pink!


To give the flower an extra effect, I outlines these petals in black, and pink on other cookies.  


Here they are once they are done!  


I think these are some of my favorite cookies I have made!  I really love to make these cookies!  I keep thinking of all the different cookies I want to make!


Now, it is time for the cookies to dry again.  I let the cookies dry for at least 4 hours, or overnight, to make sure everything is dry before I package it.  Don't worry... they will not get stale or dry out!  


Here they are on the platter!  


The morning of the day that I needed to deliver these, I had to take Jeff to the airport at 5:30am.  So when I got home, I put these on the tray and thought I would be getting a nap before I had to take them.  WELL...  maybe it was my tired state, I put the plastic lid on and I must have pushed it on too hard, because the lid cracked!  Oh gosh I thought.  I need to go get a new lid.  This was a Sunday, so I was not sure when the stored opened.  Well, when I got to the store, it wasn't going to open for more than an hour!  Ah... back to home to wait!  
Don't worry... I went back to the store and got the lid.  Everything worked out in the end!  I took the cookies to the customer and they loved them.  Then I went home and had a nap!  :-)

Till next time...

Sunday, June 19, 2011

Decorated cookies

I was looking for a new dessert to try and I came across a blog about a lady who makes these amazing sugar cookies decorated with royal icing.  I honestly can't even remember how I stumbled upon her blog, but boy am I glad I did!

First thing I did was get my Professional Baking book from Culinary School to find a good sugar cookie recipe.  Good... I had all the ingredients to make the cookies.  Then I went to the Wilton's website to find a recipe for Royal Icing.

Now, if any of you are thinking... Royal icing?!  Yuck!  I know where you are coming from.  We never used royal icing to decorate cookies in school, and the only time we used it was basically to hold something together (it dries really hard and is like glue for food) or to decorate something.  It was not exactly something that I thought tasted very good.  But honestly, it is all about the flavoring!  I put a mixture of vanilla and almond extract in mine and it is delicious!  My boyfriend, Jeff, says he hates almond flavoring, and even he loves it!  I never told him what exactly I use to flavor it, so he probably doesn't even know he likes almond extract!  Moral of this story...  as long as you flavor the royal icing, it tastes amazing!  I have given a lot of people these cookies and EVERYONE loves them!

The royal icing recipe called for Meringue powder.  I had never used this before, so I went to the local Michael's craft store and got some.  Once I got home, I started to bake...  Once the cookies were made and cooled, I started on the icing.  Thank goodness for my amazing Viking stand mixer!  The icing needs to be mixed for at least 10 minutes, maybe even up to 15!  I would not want to hold the mixer that long!  So I followed to icing recipe.  It was easy enough!  It was only 4 items: Powdered sugar, meringue powder, water and flavoring.  I then colored the icing.  I read online that if you color the icing and then leave it in the fridge for awhile, the color is better.  So that's what I did.

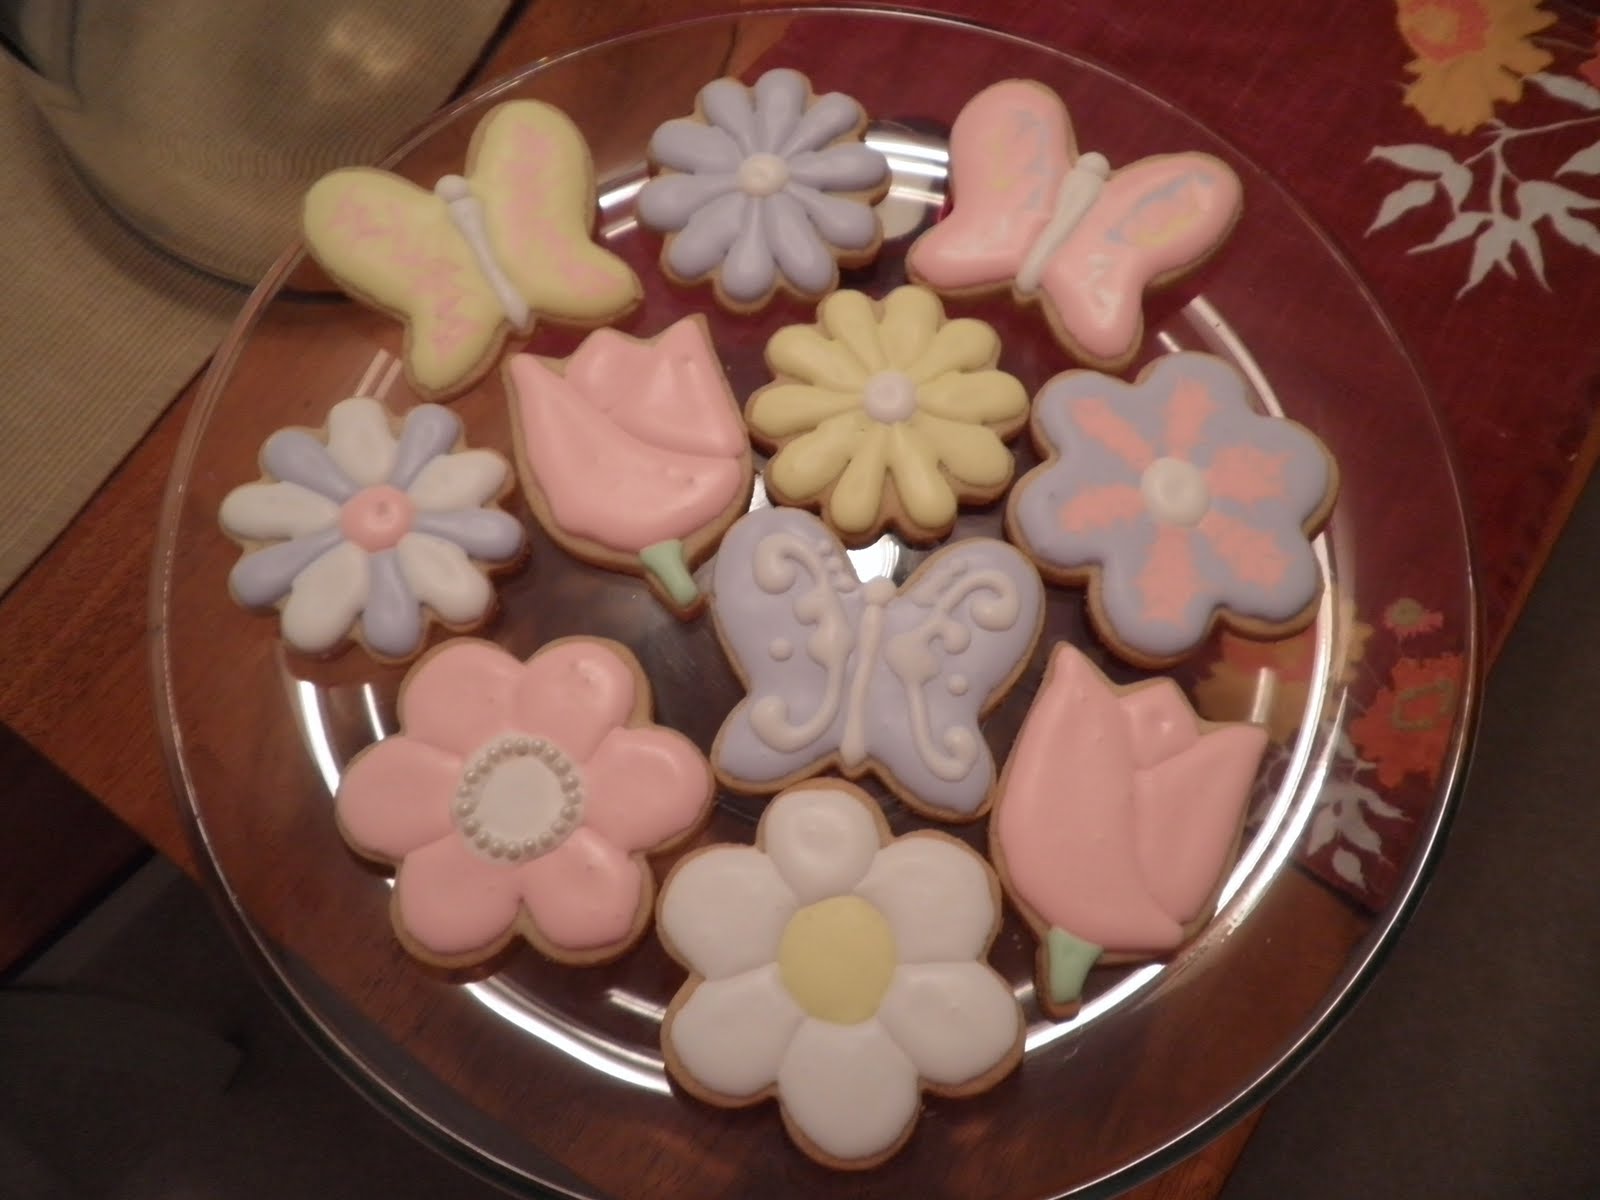
The only cutters I had at this time were some flowers, a butterfly and a heart.  So guess what I made first.  Flowers and butterflies!  The hearts will come in a little later...

In order to have definition between the petals and the body and wings of the butterfly, you have to do one part at a time, let it dry, then do the next.  Once you get the correct consistency for the icing, you can put it in either a piping bag with a tip, and/or a plastic bottle.  You can buy normal plastic bottles at Walmart, but then you cannot control the thickness of the icing when you squeeze it out.  I like to use these bottles.  These special bottles have a coupler attached.  That way, I can put on whatever tip I choose.  If I am filling a large section with icing, I may use a larger tip.  But if I want to do small, detailed work, I use a smaller tip so I can have more control.

On the flowers, I piped an outline for every other petal, then filled it in with icing.  Let them dry for at least 20-30 minutes and then did the other petals.

You can see in the picture below that the yellow flower was done this way.  You can see the separation of the petals.  On the other hand, the purple and pink flower is done differently.  I iced the whole cookie with the purple icing.  Then immediately while still wet, I added pink icing and took a knife and ran it through the pink to give it a different effect.


I took these first cookies I made over to my boyfriend's family and they loved them!  They are my taste testers when I am in Canada.  I have been taking them lots of different desserts lately!  Hopefully they don't get sick of them.  His Dad likes to make sure I bring lots of cookies over to their house.  :-)


Up next.... My boyfriend Jeff's 28th Birthday and Bachelor weekend golf cookies!