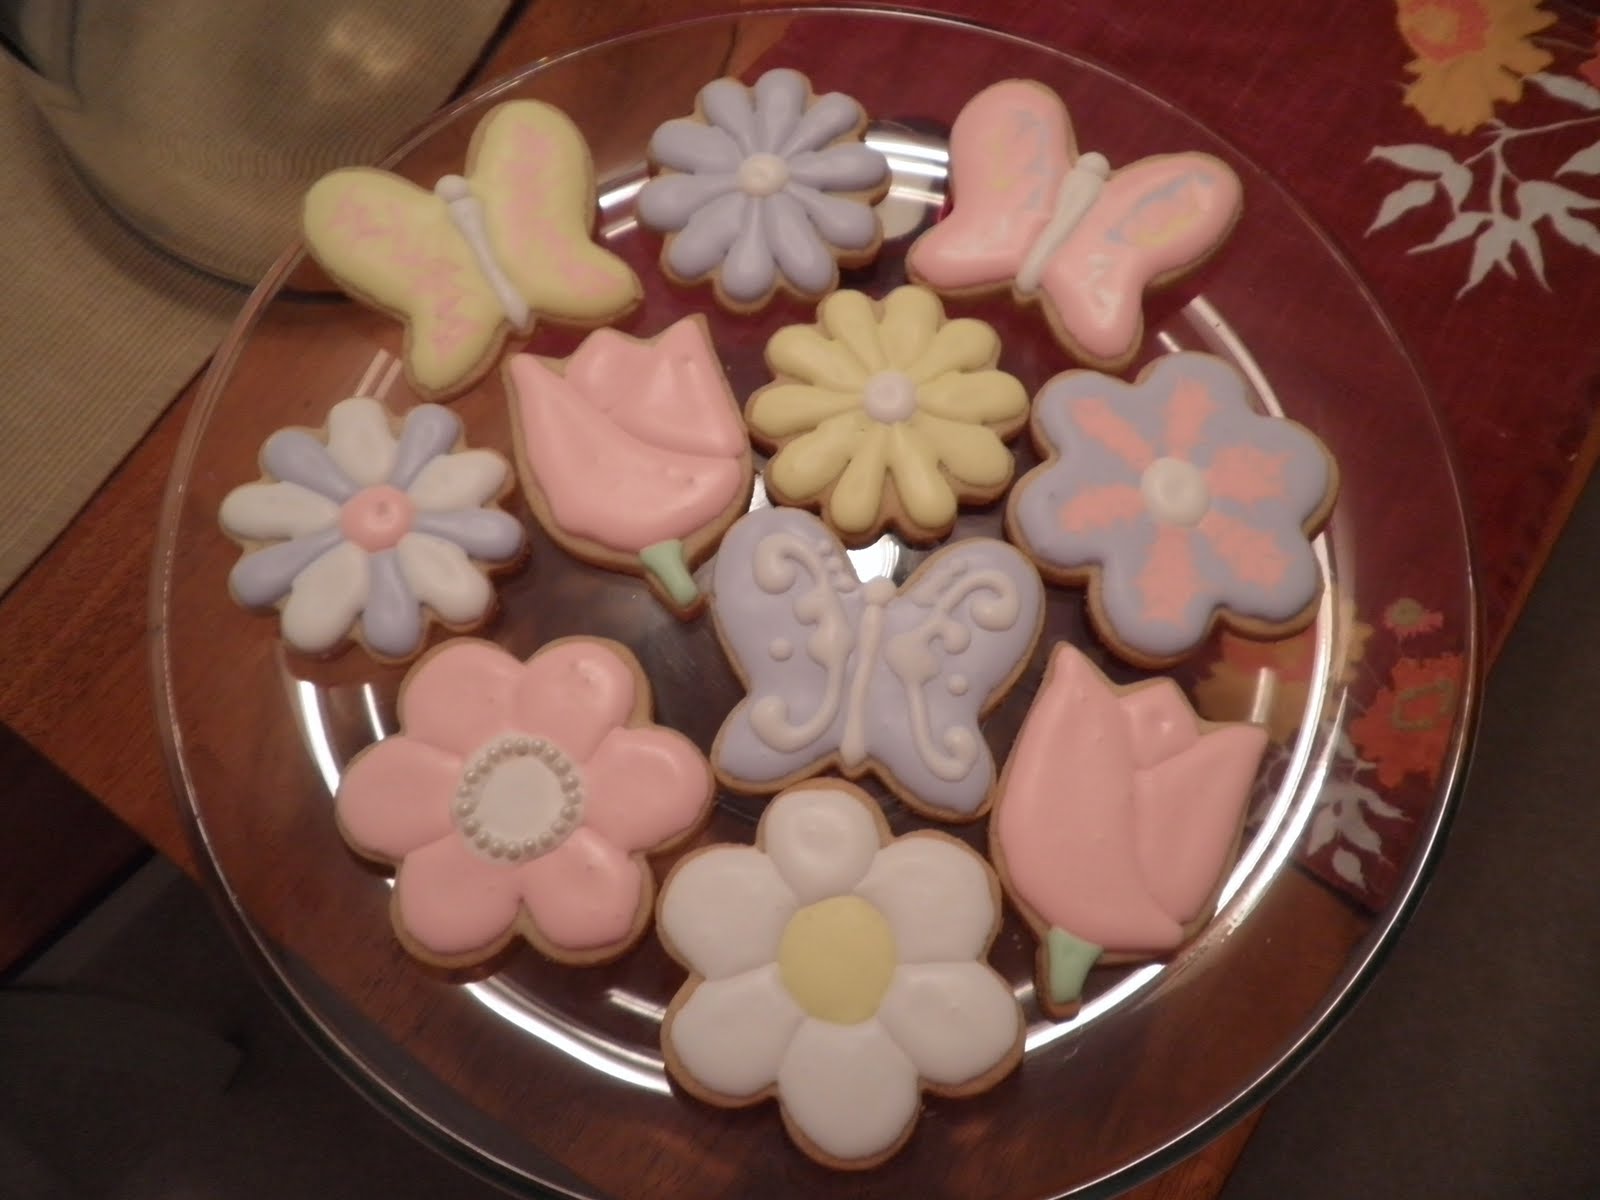
I was looking for a new dessert to try and I came across a blog about a lady who makes these amazing sugar cookies decorated with royal icing. I honestly can't even remember how I stumbled upon her blog, but boy am I glad I did!
First thing I did was get my Professional Baking book from Culinary School to find a good sugar cookie recipe. Good... I had all the ingredients to make the cookies. Then I went to the Wilton's website to find a recipe for Royal Icing.
Now, if any of you are thinking... Royal icing?! Yuck! I know where you are coming from. We never used royal icing to decorate cookies in school, and the only time we used it was basically to hold something together (it dries really hard and is like glue for food) or to decorate something. It was not exactly something that I thought tasted very good. But honestly, it is all about the flavoring! I put a mixture of vanilla and almond extract in mine and it is delicious! My boyfriend, Jeff, says he hates almond flavoring, and even he loves it! I never told him what exactly I use to flavor it, so he probably doesn't even know he likes almond extract! Moral of this story... as long as you flavor the royal icing, it tastes amazing! I have given a lot of people these cookies and EVERYONE loves them!
The royal icing recipe called for Meringue powder. I had never used this before, so I went to the local Michael's craft store and got some. Once I got home, I started to bake... Once the cookies were made and cooled, I started on the icing. Thank goodness for my amazing Viking stand mixer! The icing needs to be mixed for at least 10 minutes, maybe even up to 15! I would not want to hold the mixer that long! So I followed to icing recipe. It was easy enough! It was only 4 items: Powdered sugar, meringue powder, water and flavoring. I then colored the icing. I read online that if you color the icing and then leave it in the fridge for awhile, the color is better. So that's what I did.
The only cutters I had at this time were some flowers, a butterfly and a heart. So guess what I made first. Flowers and butterflies! The hearts will come in a little later...
In order to have definition between the petals and the body and wings of the butterfly, you have to do one part at a time, let it dry, then do the next. Once you get the correct consistency for the icing, you can put it in either a piping bag with a tip, and/or a plastic bottle. You can buy normal plastic bottles at Walmart, but then you cannot control the thickness of the icing when you squeeze it out. I like to use these
bottles. These special bottles have a coupler attached. That way, I can put on whatever tip I choose. If I am filling a large section with icing, I may use a larger tip. But if I want to do small, detailed work, I use a smaller tip so I can have more control.
On the flowers, I piped an outline for every other petal, then filled it in with icing. Let them dry for at least 20-30 minutes and then did the other petals.
You can see in the picture below that the yellow flower was done this way. You can see the separation of the petals. On the other hand, the purple and pink flower is done differently. I iced the whole cookie with the purple icing. Then immediately while still wet, I added pink icing and took a knife and ran it through the pink to give it a different effect.
I took these first cookies I made over to my boyfriend's family and they loved them! They are my taste testers when I am in Canada. I have been taking them lots of different desserts lately! Hopefully they don't get sick of them. His Dad likes to make sure I bring lots of cookies over to their house. :-)
Up next.... My boyfriend Jeff's 28th Birthday and Bachelor weekend golf cookies!