Showing posts with label recipe. Show all posts

Friday, September 14, 2012

Pumpkin Cream Cheese Squares


For the past few weeks, we have been renovating the kitchen... ourselves.  Thankfully, with the help of some others, we are almost done!!  Just the backsplash left to go, but I have been able to use the kitchen since Monday now.  Ahh... living with no kitchen is not fun!  I normally love a little Wendy's or other fast food here and there, but when you have to get takeout twice a day for almost 2 weeks, it's no fun.  By the end, we were both crabby and ready to be done.  I'm sure most of it was that we had already done a ton of work and just wanted it to be over, but also we were putting such junk food into our bodies and it was making us feel sick.  

I have not been baking for probably more than 2 weeks, so it was nice to get back into the kitchen again.  When I had to stop baking, it was still summer and everyone on the blogs and Facebook were still in summer mode.  Now that has all changed... it's now Halloween!  Now, I am not quite ready for Halloween, but I do LOVE when Fall starts.  Nothing says Fall to me quite like pumpkin does!  So that's exactly what I wanted to make.  

Here is Canada, Thanksgiving is just a couple weeks away now, so the stores already have pumpkins.  I just got a little pumpkin because I was in a rush, but I plan on going back to get some more.  Oh, the hubby will be so excited!

But for now... I made the most delicious Pumpkin Cream Cheese Squares last night!  Oh. my. gosh.  These squares are so moist and tasty.  I found this recipe from How To: Simplify and changed it up a bit and the results were amazing.   Instead of putting frosting on top, I swirled the cream cheese into the cake!


Pumpkin Cream Cheese Squares

Ingredients:
  • 4 eggs
  • 1 2/3 cup sugar
  • 1 cup canola oil
  • 1 can (15 oz.) pumpkin puree
  • 2 cups all purpose flour
  • 2 tsp. baking powder
  • 1 tsp. baking soda
  • 1 tsp. cinnamon
  • 1/2 tsp. nutmeg
  • pinch cloves
  • pinch ginger
  • 1 tsp. salt
  • 8 oz. cream cheese, softened
  • 1 egg yolk
  • 1 tsp vanilla
  • 2 tsp. sugar
Directions:
  1. Preheat oven to 350°.  Grease a 9x13 baking dish.
  2. In a large bowl, whisk together eggs, sugar, oil and pumpkin. 
  3. Add flour, baking powder, baking soda, cinnamon, nutmeg, cloves, ginger and salt to wet mixture and stir until combined.  Set aside.
  4. In medium bowl, using an electric mixer, beat cream cheese, egg yolk, vanilla and sugar together until smooth.  
  5. Pour the pumpkin batter into the dish and smooth the top.  
  6. Drop dollops of cream cheese mixture on top of pumpkin batter.  Using a knife, swirl the cream cheese mixture into the pumpkin batter.  Be careful not to overmix, as then you would not see the cream cheese swirl.  
  7. Bake for approximately 40 minutes or until a knife comes out clean.  
  8. Enjoy warm or at room temperature!


I love all things pumpkin... cake, scones, pancakes, dips and more!  My dog Bailey even likes pumpkin!  She was sick awhile back, and we read online that pumpkin is gentle on dog's stomachs so she was eating pumpkin and rice for a couple days and loved it!  So when I was cleaning up from making this, she was laying at my feet and I gave her a little pumpkin and she was a very happy dog!  

What do you like to make with pumpkin?!  


Tuesday, August 21, 2012

Pineapple Upside Down Cake


It has almost been a year since I went to Hawaii with some girlfriends.  What a great trip!  A whole week of friends, the beach, bikinis, yummy food in the most scenic location.  We didn't do a ton of touristy things like sightseeing and going on tours.  It was a really relaxing and nice vacation.  Especially considering I don't get to see my really good friend, who I've been friends with since middle school, too often!  


My friend works at a hotel and won Employee of the Year, and got a free trip to any of their hotels.  She picked Maui, and I was just lucky enough to go with her!  The hotel had the best food.  I love breakfast food and this place did not disappoint.  The big buffet had so many different options of all the breakfast foods you could imagine with tropical twists, such as guava pancakes.  Yummy!  It was quite pricey, so we didn't eat there every morning.  Down by the pool and beach, they had a mini buffet that had pretty much the same stuff, but at the beach bar so it was about half the price.  So, after we would pick up clean towels for the day and reserve our chairs, we headed to breakfast.

This beach bar also had lunch, desserts and other snacks for during the day.  One of my favorite things was their Pineapple Upside Down Cake.  It's a very traditional dessert, but it was delicious and it probably didn't hurt that I was enjoying it in Hawaii.  

Ahhh... I wish I was still there!

Recently, I have been in the mood for Pineapple Upside Down Cake, so I made some and I want to share it with you!  


Pineapple Upside Down Cake

Ingredients:
  • 2 oz. butter
  • 6 oz. brown sugar
  • 4 pineapple slices, canned
  • about 6 maraschino cherries
  • 4.25 oz. buttermilk
  • 2.25 oz pineapple juice, from the can of pineapple slices
  • 2.5 oz. vegetable oil
  • 1 tsp. vanilla
  • 3 eggs
  • 8 oz. cake flour
  • 5 oz. sugar
  • 1 tsp. baking powder
  • 1/4 tsp. baking soda
  • 1/2 tsp. salt
  • pinch nutmeg
  • 1.5 oz. shredded coconut
Directions:
  1. Preheat oven to 350°.
  2. Melt butter and brown sugar in an 8 inch deep cake pan over the stove.  (pictured below)
  3. Once melted, pull off heat (be careful... it may be hot!) and arrange pineapple slices and cherries in desired pattern.  Set aside.
  4. In medium bowl, combine buttermilk, pineapple juice, oil, vanilla and eggs.
  5. In large bowl, sift together flour, sugar, baking powder, baking soda, salt and nutmeg.  
  6. Pour the wet mixture into the dry and whisk until combined.  Mix in coconut.
  7. CAREFULLY pour batter over fruit.  Caution:  fruit may shift a little when you add the batter. 
  8. Bake for 35 minutes or until a knife comes out clean.  
  9. Cool 30 minutes before flipping upside down. 
  10. Use spatula to loosen edges before turning onto a cake plate.
  11. Enjoy warm or at room temperature.  


Place the cake pan right on the stove.  Doesn't matter if its an electric or gas stove.  Just make sure you don't touch the sides without checking to see if its hot!


I didn't spray the pan with nonstick spray first because the brown sugar and butter mixture will keep the cake from sticking.  


All done, waiting to be flipped!


My center cherries shifted a bit, but what can you do?!  No use crying over shifted cherries!


This is a very classic "upside down cake".  You can make this with plenty of different fruit.  Apples, peaches, blueberries just to name a few!  

Enjoy!!  

Saturday, August 11, 2012

Chocolate Chip Banana Muffins


It's almost the middle of August here and I am wondering where this summer went!  I haven't been on here much because I am have busy traveling and visiting with people.  We are also in the middle of redoing our kitchen, so that makes it hard to do much baking!!  We keep changing our mind on how we want to do the kitchen, so things are everywhere!  One of the counter tops is even ripped off and leaning against the wall.  What a mess!  So hopefully the wheels will start turning on the remodel and I will be back to baking soon enough!  

But for now, here are some yummy muffins I made a little while back and forgot to put on here!  I recently got some of these fun little baking cups (my design is different because I found them at a little store near me, but The TomKat Studio sells them online!).  I wanted to see the difference between normal baking liners and these new baking cups.    


I wouldn't use the baking cups for everyday use and all the time, because they are more expensive, but they kept the muffins extra moist and none of the muffin stuck to the cup when I peeled it away.  You know how  when you use some muffin liners, a little of the muffin sticks to the paper and you don't really eat that (unless of course you try to eat it by scraping it off the paper with your teeth, which I would not recommend!).  


The baking cups are nice because you don't need a muffin tin to bake them in.  Simply place the cups on a sheet pan and you can fit more in, since they can be right next to each other.  Also, they are just extra special and cute, so they would be great for a party when you want those extra details.  


Banana Chocolate Chip Muffins
adapted from Food Network recipe

Ingredients:
  • 2 1/2 cups flour
  • 1/2 tsp. baking soda
  • 3/4 cup light brown sugar
  • 3 medium bananas, mashed
  • 1/2 cup vegetable oil
  • 1/2 cup milk
  • 2 eggs
  • 1/4 tsp. salt
  • 2 tsp. vanilla 
  • 3/4 cup chocolate chips
Directions:
  1. Preheat oven to 425°.  Line 12 muffin cups with liners.  *You may get a couple more than 12*
  2. In large bowl, mix the dry ingredients together: flour, baking soda, brown sugar and salt.
  3. Add bananas, eggs, oil, milk and vanilla.  Mix until just combined.  **Do not use mix**
  4. Stir in the chocolate chips.  
  5. Fill the muffin tins with batter.  When you put the muffins in the oven, turn the temperature down to 375° and bake for 20-25 minutes, or until golden brown and a knife comes out clean.
  6. Cool muffins and serve warm or room temperature.  


To remove the muffin from the baking cup, simply tear the paper cup away from muffin gently.  It should come off nice and clean!


Is it me or does mine kind of look like a sad face in the middle with the chocolate chips?!  Haha... just wanted to share!  


Enjoy!


Saturday, July 07, 2012

White Chocolate Chip Bread


This is me in beautiful Dominican Republic.  I was 20 years old, in college and babysitting for a family who took me with them on their family vacation.  This was my first trip to the Caribbean (but it most certainly will not be my last!).  We stayed at one of those all inclusive resorts where they have lots of activities to do there and restaurants so you don't even need to leave!  I loved the ocean kayaks... I think I went on these a few times that week.  I tried snorkeling, but the water was too rough that day so it didn't work out too well.  

I can't remember if it was at a certain restaurant or just somewhere you can get snacks during the day, but they had the most amazing bread!  White Chocolate Chip Bread!  We all loved it.  It was just so delicious and I had never had bread like it before.  And if you haven't figured out yet, I love love love my bread!  I could eat bread and butter for a  meal!  And it must be good bread!  

I can't remember exactly how I got it, because it was 6 years ago, but I somehow got a copy of the recipe to bring home with me.  It must be very popular with other people too, not just me, because they had the recipes printed out for the guests.   


After I got back, I remember trying to make the recipe in my boyfriend at the time (now husband)'s college house.  This is before I went to Culinary School and lets just say it didn't work out too well!  

Fast forward 6 years, I was going through a box of old things and there it was!  The recipe.  Now that I had experience from school and working at a bread bakery, I knew things would turn out better this time around.  I made it one night that my husband was out, and I probably ate almost half the loaf before he even got home.  So good!  So naturally, I want to share it with all of you!  


White Chocolate Chip Bread
*recipe adapted from Club Med

Ingredients:
  • 2 tsp. yeast
  • 1 1/4 cup warm water
  • 1 tsp. honey
  • 1 tsp. salt
  • 2 1/4 cup flour
  • 1/2 cup white chocolate chips
  • 1 egg for eggwash
Directions:
  1. Preheat oven to 375°.
  2. In mixer bowl, place yeast and warm water and let sit for 3-4 minutes, until the yeast has dissolved.
  3. Add the honey, salt and flour to the bowl and mix on low until everything is incorporated.  
  4. Mix on medium for about 5-7 minutes until the dough forms a smooth ball.  
  5. Add the chocolate chips and mix until the chips are evenly distributed.  
  6. Proof the dough in a warm place with a towel covering the bowl for 30 minutes.  
  7. Shape the dough into a round and place on silpat lined baking sheet to proof.  Eggwash.
  8. Let proof for 15-20 minutes.  Eggwash one more time right before it goes into the oven.
  9. Bake 20-25 minutes.  It will be nicely browned and have an internal temperature of 190°.  
  10. Let cool, then slice and enjoy!  


* It may look like the chips on the outside are burning, don't worry about this.  I find you can't even taste them, but if they do taste burnt, just scrape them off!  


I think this bread is delicious just on its own.  But you can add jam for some extra flavor!  Or some peanut butter, or ham to make a sandwich!  The white chocolate chips just give the bread a little sweetness, but don't have an overpowering taste so you can put just about anything on this!  


  I can't wait till I make this again!  Out of all the bread I make, this one just may take the cake!  

I hope you enjoy!


Monday, April 23, 2012

Mixed Berry Muffins


Have you ever used these Yankee Candle tarts?!  They are amazing!  Since I don't like to have a candle burning in the house, these tarts are the perfect alternative.  The warmer is electric, so you never have to remember to blow the flame out before bed.  Believe me... I know because I have left mine on overnight many times!  These come in so many scents too.  Tonight I am enjoying Lemon Lavender.  Mmm!  Love.  


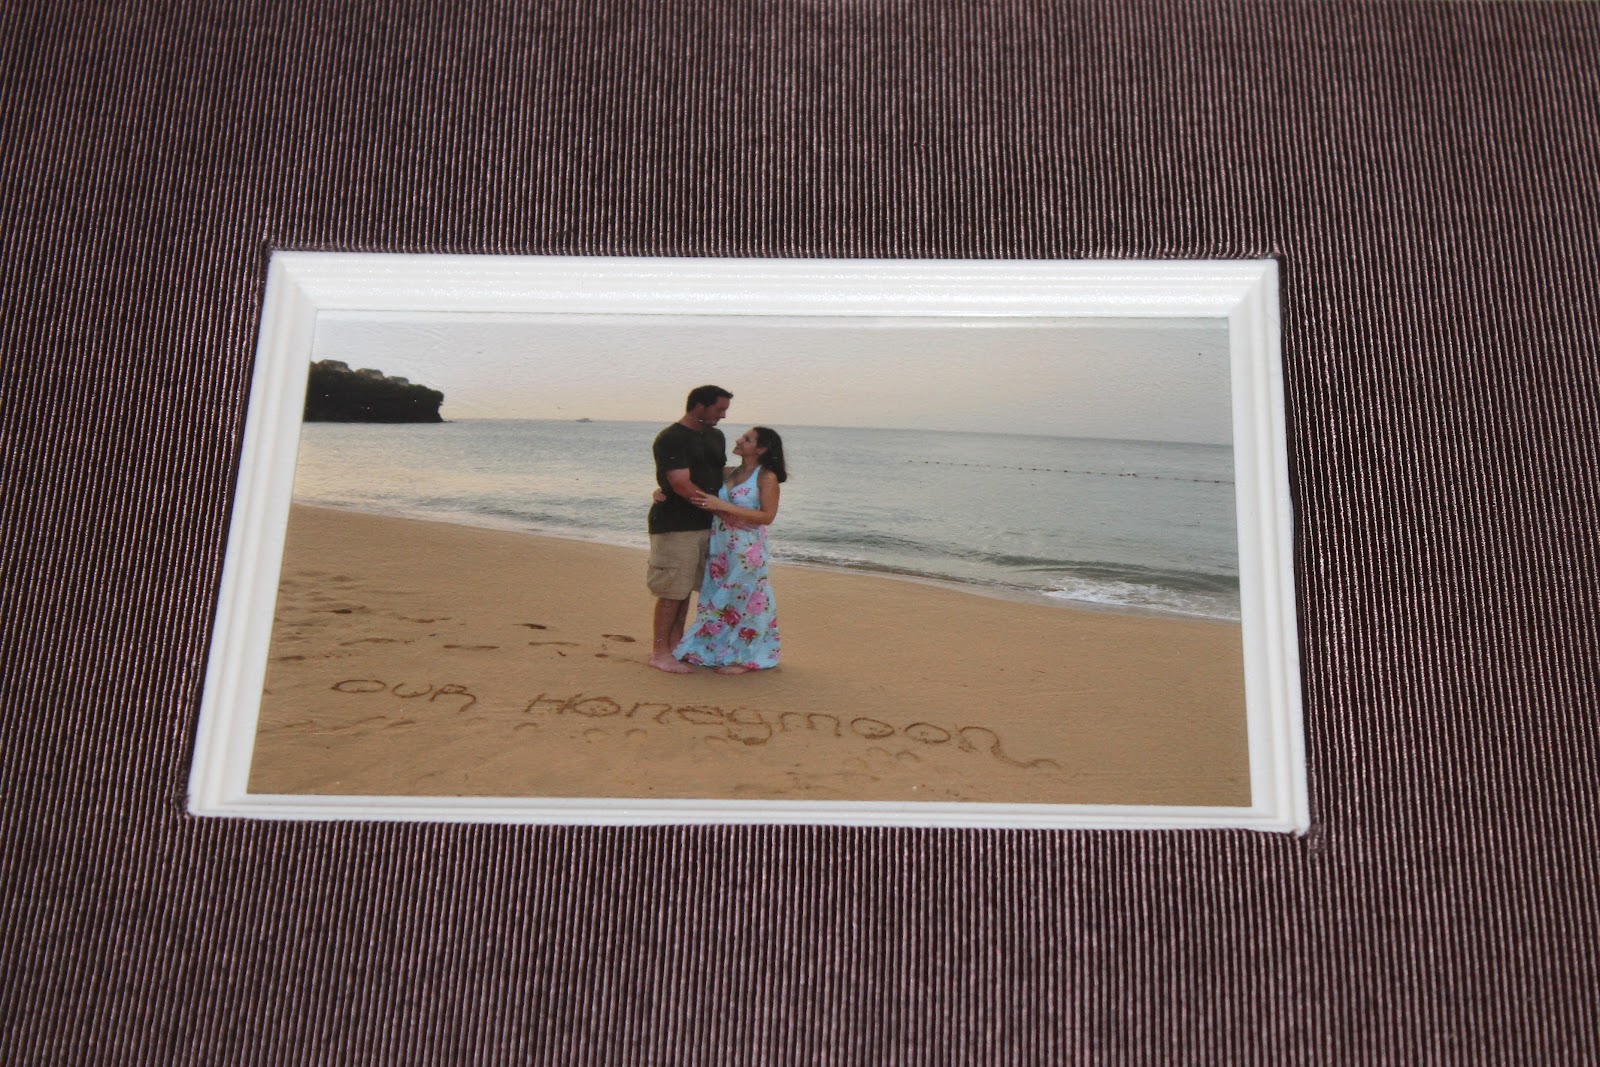
I am also working on my honeymoon scrapbook.  You know... only 6 months after we got back!  I don't know why I have put it off for so long, but I am working on it now.  I just ran out of scrapbook paper, so I will have to get some more at the store soon.  I haven't even started my wedding scrapbook.  So I am doing things a little backwards and late.  But better late than never!  Once I get into the mood to scrapbook... I am on a roll and I could scrapbook all night!  


I always feel like I have SO much stuff going on when I get all my scrapbooking materials out.  

Materials I can't scrapbook without: a wide variety of scrapbook paper, letters and other stickers, my paper/photo cutter, scissors, tape/stickers for pictures and my Sharpies.

Is there anything you use for scrapbooking that I didn't mention?!  Let me know!!


I hate that I have SO many letters, and some sheets are only the letters that I don't use so much.  You know you always run out of the vowels, S, T, R, H, and N just to name a few!  But I never want to throw them out just incase I can use them for a word or name in the future!!  


Love all my different colored Sharpies!!

Oh yeah, and I also made Mixed Berry Muffins today!  They are so yummy and easy to make!  

Mixed Berry Muffins

Ingredients:
  • 1 1/2 cups flour
  • 1/3 cup sugar
  • 1 1/2 tsp. baking powder
  • 1/4 tsp. baking soda
  • 1/4 tsp. salt
  • 1/2 cup canola oil
  • 1 cup sour cream
  • 1/2 cup milk
  • 2 eggs
  • 1 tsp. vanilla
  • 3/4 cup berries, cut into small pieces; strawberries, blueberries, raspberries, blackberries (I used strawberries and blueberries)  
Directions:
  1. Preheat oven to 400° and line 12 muffin cups with paper liners.
  2. In a bowl, mix together flour, sugar, baking powder, baking soda and salt.  
  3. Add oil, sour cream, milk, eggs and vanilla to flour mixture.  
  4. Mix until just combined.
  5. Gently stir in cut up berries.  
  6. Divide the batter evenly between the muffin cups.  
  7. Bake approximately 20 minutes, or until a knife comes out clean.  


Enjoy!