Saturday, April 21, 2012

DIY- Heart String Art


If you aren't already on Pinterest, you should be!  It basically is a virtual bulletin board.  "Pinterest lets you organize and share all beautiful things you find on the web.  People use pinboards to plan their weddings, decorate their homes, and organize their favorite recipes."  -Pinterest

Check out my Pinterest here.  I have all kinds of desserts and food, crafts and DIY projects, beautiful things for the home, party planning ideas and much more on mine.  It also is a great place to get all kinds of ideas for the holidays.  

I found one of these string art projects on there and had to try one myself!  There are unlimited options for making one.  You could make one for a kids room, holiday decoration, or an initial.  A week or so ago, it was my 6 month wedding anniversary, so I wanted to make one that included our wedding date.  So I made a heart and then used a black Sharpie to write our wedding date.  

I found this wooden plaque and string at Michael's.


 I painted it blue and let it dry completely.


Once I decided that I wanted a heart shape, I cut it out of paper and taped it onto the board to show me where to hammer the nails.  I put each nail about 1/2 inch away from each other.  


After I had all the nails in, I removed the paper and started looping the string around the nails.  I went around the heart once and then did a random pattern.  I had to push the string down in some spots where I looped it around that nail multiple times.  


I was going to paint the date on the plaque, but decided that I didn't have a brush that was fine enough.  So I used a black Sharpie marker instead.  I used my KopyKake so that I could use a particular font.  But you can use a stencil and paint or free hand it... whatever works for you!  


I love all the ideas I get from Pinterest.  It is quite addicting and when I get on there, I will sometimes be on for a very long time!  But I love making things I see on there.  I joke that I am going to make so many things that I run out of room to keep them all!  But I love it.  

Are you on Pinterest?!  If so, what fun things have you seen on there that you have made or wanted to?!  

Friday, April 20, 2012

Fast and Easy Mozzarella Sticks & A Roadtrip With The Dog

Hi there!  Last weekend my hubby had to go away for work, and I was headed back to PA after Easter.  Bailey was going to have to go to a kennel for the weekend and neither of us wanted her to go there.  After all, she was a rescue dog and was so sad when she was in the shelter.  She is such a happy dog when shes with us and we didn't want her to think she was going back to the shelter... even if it was just for the weekend.  I think I am turning into a very protective dog Mama!  Haha.  I'm a little crazy...

So I decided I would just bring her home to Pittsburgh with me.  I wasn't too sure if I would even be able to do this since we would be driving over the border.  But after some online research and talking to someone who had done the same thing, I realized I should have no problem taking her with me.  I "doggie proofed" my car.  I put towels down and then put a sheet over the whole back seat.  I wasn't really too worried about my seats getting ruined, but I just wanted to make a nice little cozy place for her back there.  Her smaller bed went back there too.  And of course some toys!

We headed out on our 7 hour drive.  Bailey was really good in the car.  I was a little unsure about how often I would need to stop for her to stretch and go to the bathroom.  So on the way down, we stopped 3 times.  She didn't go to the bathroom once.  I guess she was a little nervous about the long drive.  


The first half of the drive she moved around a lot.  She wasn't too sure what she should do, but started to relax half way through and just laid down and slept most of the way home.  


When I looked back and she was sleeping like this, oh my... My little heart just melted.  She looked so cute!  I know... some of you may be thinking I sound crazy talking like this about a dog, but I don't have kids so she's my baby!


We have to drive on the turnpike for a good hour and a half or two hours.  As soon as you get off, there is a rest stop.  With these "No Pets" signs all over the place.  It was the only rest stop for a couple hours and you can't let your dog out?!  I don't think so...  I parked right in front of the sign and took her out for a walk.  As long as you clean up after your dog and they are on a leash I see no reason for not letting pets get out of the car.  Oh well.  


Once we got off the highway, I was able to open the window because she LOVES sticking her head out of the window.  She probably stood there for the last hour of the drive!  Haha.  You can notice all the drool marks on the window!


Ahhh... finally we got home!  I live out in the country so there were a lot of other animals for Bailey to see and try to chase.  She was on a leash but that didn't stop her from trying to get all the horses!  Here she is barking at the horses going down the road.  


Bailey's favorite thing... trying to catch the birds at the bird feeder!


And her big stick she found... and loved!


We always say that she gets this from me, or that from the hubby.  Well... she hates getting her picture taken just like her dad!  I guess who can blame a dog though... they don't have a clue about pictures!


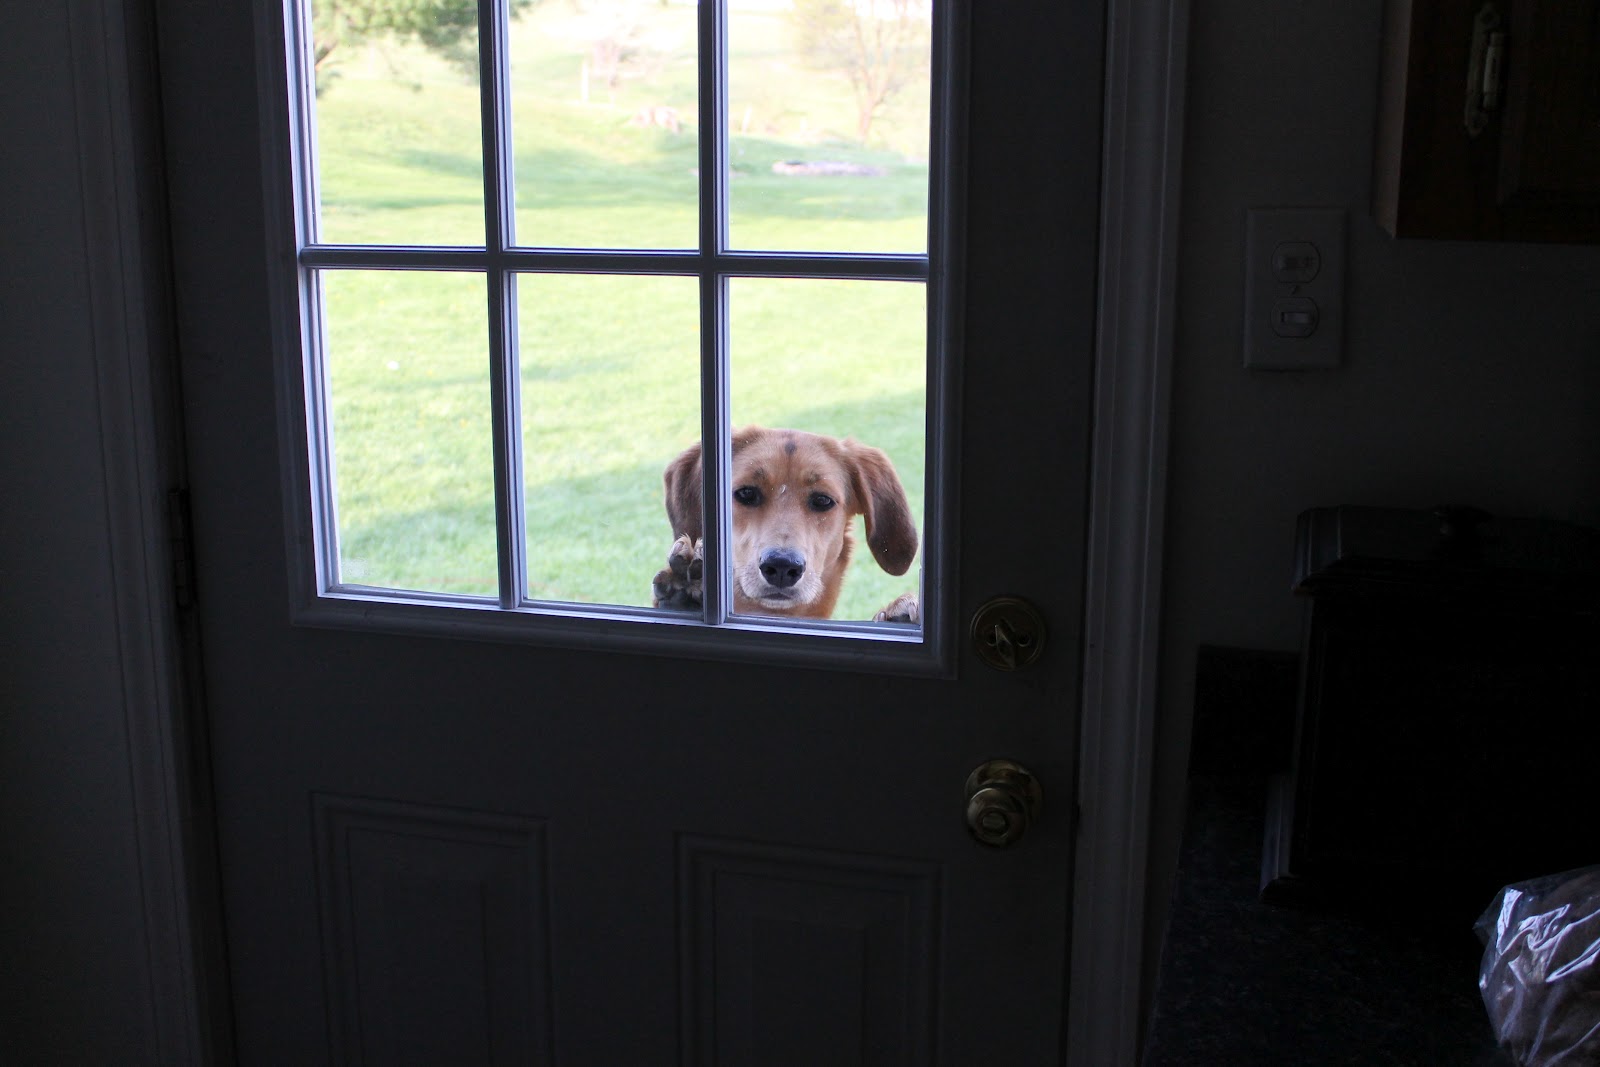
She loves to jump up on the door when she wants to come inside.  It's so cute!


We made it back to Canada safe and sound a few days later.  She loved having so much room to run in the country though!  And she slept pretty much the whole ride home!  Sorry... I know that was A  LOT of dog pictures!  :-)  

Now for the food....

These Mozzarella sticks are SO easy and fast to make!  And they are only a few ingredients.  

Mozzarella Sticks

Ingredients:
  • 4 string cheese
  • 1/4 cup bread crumbs
  • 1 tsp. Italian seasoning
  • Dash of Paprika
  • 1 egg, beaten
  • 1 can pizza sauce, or tomato sauce of your choice
  • Extra Virgin Olive Oil
Directions:
  1. Cut the string cheeses in half.
  2. Place bread crumbs and spices in a bowl, mix.  And the egg in another bowl.
  3. Heat a frying pan over medium heat.  Pour the oil in so that it just covers to bottom of the pan.
  4. Dip the cheese sticks in the egg mixture, and then the bread crumb mixture to coat.  Repeat a second time if you like.  
  5. Heat pizza sauce or tomato sauce until hot.  
  6. Fry the mozzarella sticks until golden brown on all sides and remove from pan immediately.
  7. Serve the mozzarella sticks with the sauce while still hot.  
  8. Enjoy!


So delicious and these take 10 minutes or less to make!  This recipe is very easy to double or triple too!  This is such an easy appetizer to make.  We gobbled these up pretty quickly and you will too!  

Monday, April 09, 2012

Easter eggs


Happy Easter!  I hope everyone had a nice holiday weekend!  The day started out so nice here.  It was almost WARM on Easter and very sunny.  Then, as I was loading up the car, it started to rain.  Later in the day the sun came out again.  But overall it was a really nice day!  Oh well... April showers bring May flowers right?!

Anyways... here are some cookies that I made. 


I hope you enjoyed these cookies.  

Wednesday, April 04, 2012

DIY Chalkboards


I have been wanting to make these for a long time now.  I have been seeing lots of different ways to use chalkboard paint.  From painting the top of a dining table or craft table to painting a section of wall in the kitchen to turning silver trays into signs.  I wasn't really sure where I could get the chalkboard paint from.  I saw it at a hardware store, but you had to buy a quart of it.  Then, I found some by Martha Stewart at Michael's and with my coupon, it was just around $5!  So I got some in gray and black.  In the first picture you will see the gray paint.  I later decided I wanted to use the black.  

What you need:
  • Silver tray (I got some mine at a second hand store for around $4 a piece!)
  • Spray paint in your choice of color
  • Chalkboard paint
  • paint brush and/or foam paint brush
  • chalk


I chose 2 different colors for the frame.  Blue Ocean Breeze and Watermellon.  (I don't know if this is true for where everyone lives, but where I got my supplies, these exact same spray paints were $10 at Michaels and $5 at Walmart... quite the difference.  I got mine at Walmart!)


I put plastic bags over the recycling bins and spray painted the trays in the driveway.  Just make sure you chose a spot where you won't ruin anything if you get paint on it!  Doing this in the grass is another great option, because the grass will get cut and you will never know even if you get spray paint everywhere.  

I sprayed an even coat on the trays.  On the pink one, I sprayed only the outside.  The blue, I sprayed the whole thing.  Either way, they both work!  

Let it dry about 20 minutes in between each coat, or according to the directions on your spray paint.  I did 3 coats of spray paint to make sure everything was fulling covered!  Dry overnight.


Another trip, when I was letting each coat dry, I moved them inside the garage.  You don't want little leaves or dirt being blown onto your wet paint while it dries!  That is the one bad part about painting outside.  But I would rather do it outside than have the fumes in the house.  


Once the spray paint is completely dry, you can start the chalkboard paint.  You don't need a ton of paint, so start with a small amount.  You can always add more!  I painted a border around the outside first so I made sure the lines were straight.  Then I filled in the middle.  

You need to do a good 3 coats of this as well.  The first time, I couldn't get everything completely covered.  But after 3 coats, everything was good!  Dry overnight.


Before you start writing on the chalkboards, use the side of the chalk to rub over the chalkboard.  This only needs to be done the first time you use it to condition the board.  Wipe off immediately.


Now it's time to write on the boards!


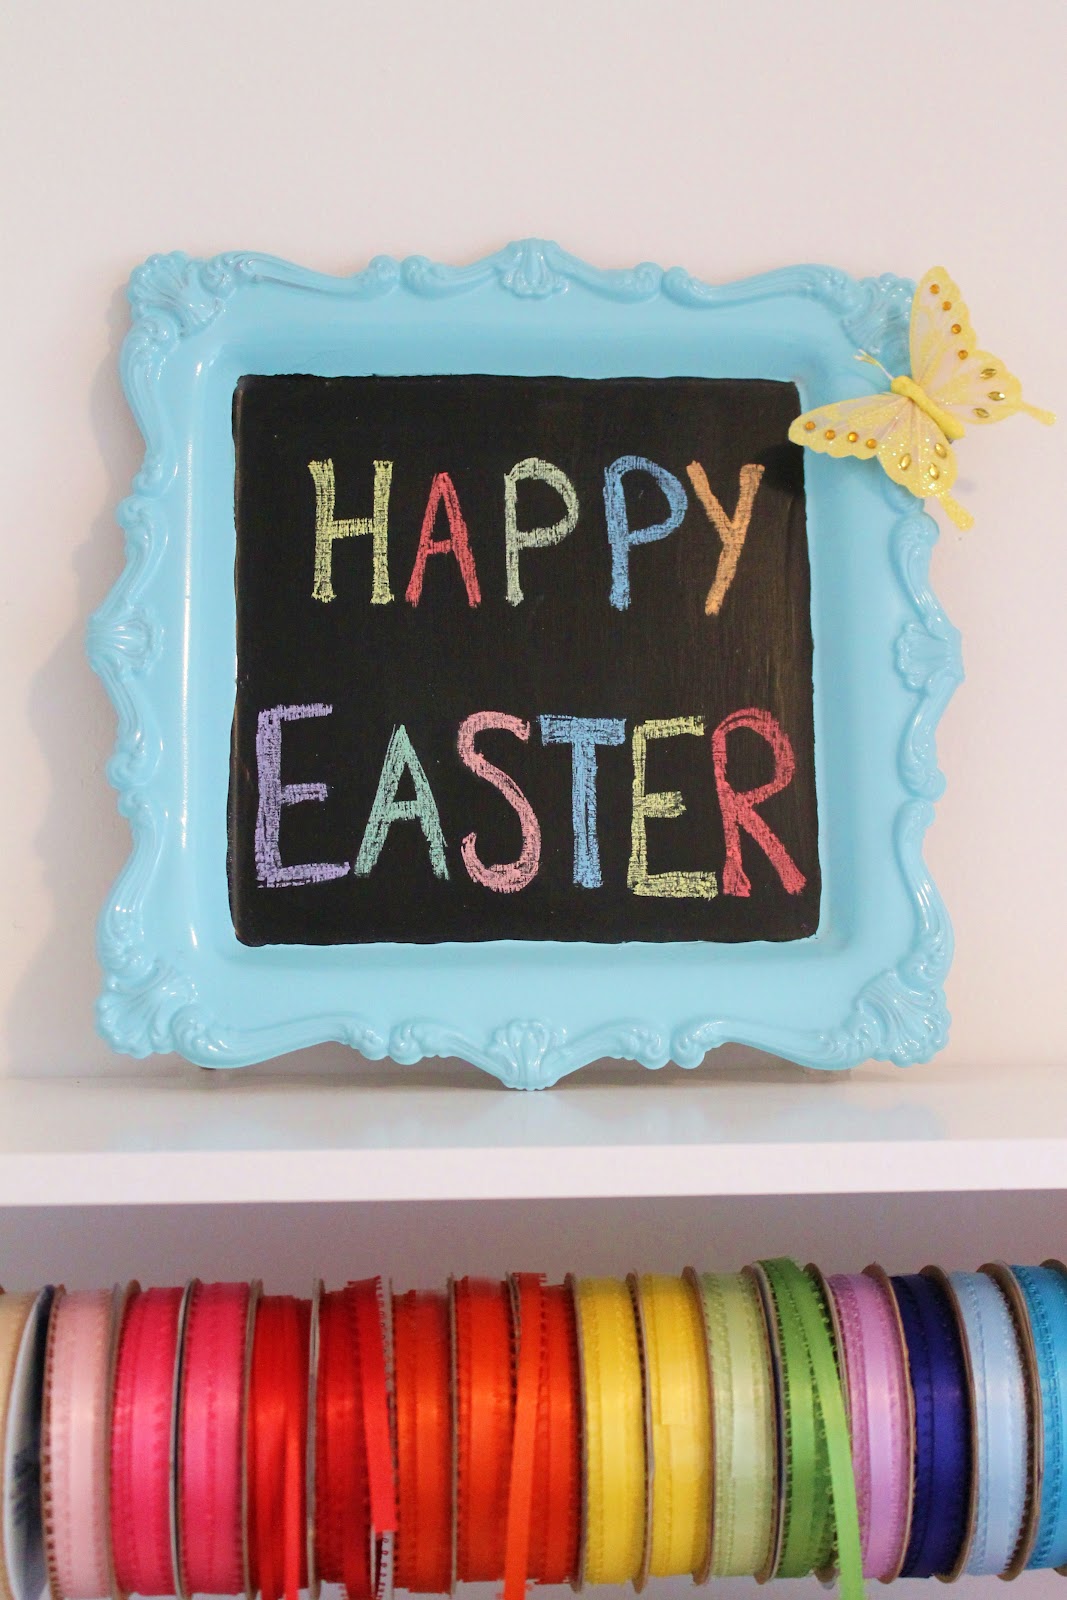
I added a butterfly clip to the side that I used for the decorative spring letter I made. 


One of my favorite quotes!  Desserts can be stressful!  They don't always turn out how you want them to...


HAPPY EASTER!!  


My sidekick laying next to my desk.  :-)