Sunday, October 09, 2011

Happy Canadian Thanksgiving!

Happy Thanksgiving weekend to all the Canadians!  

Here are some leaf cookies that I made that were inspired by SugarBelle.  


It has been such a beautiful weekend here!  Could not have asked for better weather!  Too bad I am sick!  :-(  No Thanksgiving for me today.  It is also too bad that next weekend is not going to be as nice out.  That is my wedding weekend.  And it is supposed to rain.... 

Ahhh...  only time will tell!

I hope everyone is out enjoying this beautiful weather that we have been blessed with!

Monday, October 03, 2011

Pain au chocolat

Hi everyone!  In the last few days the weather has gotten considerably cooler and rainy.  So after I watched my favorite football team play yesterday (Go Steelers!), I decided that I would bake something.  I always have a long list in my mind of things that I would like to try.  However, I decided on a tried and true favorite...  Chocolate croissants!! 

My love for them started in Culinary school.  The first class that I took was a bread class. I thought chocolate croissants would come later in my breakfast and pastries class.  Nope!  Much to my surprise, I was making these delicious little treats only a few weeks into school.  Every 2 month cycle (that is how long each class would last), I would go back to the breads instructor and he would give me a chocolate croissant from his demo batch.  Yum!  I was hooked!  

So when my sister gave me this book... 

Pastry: Savory and Sweet

and I found that there was a recipe for them, I had to try it!  Now this book has tons of good recipes for all things with pastry.  Pies, savory tarts, puff pastry, brioche, croissants, pate a choux (cream puffs), pizza dough and more!  If you like all those things, you would really like this book!  

Anyways... back to the croissants!

Chocolate Croissants
1 oz fresh yeast  (this really is better than the instant yeast and you can find it in most grocery stores these days by the butter)
generous 1 cup whole milk
3 1/2 cups all purpose flour
2 tsp. fine salt
1/4 sugar
1 1/4 cup butter, cold but not too hard
eggwash (beat 1 egg yolk with 1 tbsp milk)
Chocolate chips

  • Break the yeast up so it crumbles into a bowl.  Add the milk.  Let it sit for a minute or so and then mix with your fingers so the yeast dissolves.
  • Put the flour, salt and sugar into a mixer bowl.  Use a stand mixer with a dough hook.
  • Turn the mixer on low, gradually adding the yeast mixture.
  • Stop working the dough as soon as a nice ball forms and it does not stick to the sides of the bowl.  (If it is dry, slowly add a little bit of milk until it comes together.  If it is too wet, slowly add a little bit of flour.  You want it to form a ball, but not be too sticky to the touch.)


  • Cover the bowl with plastic wrap and let the dough rise in a warm place (about 75 degrees) for about 45 minutes to an hour.  It should double in size.  
  • Knock back the dough by flipping it over and letting the gases out, but do not over work the dough.  Do this gently.  
  • Cover the bowl and chill for 4 hours in the fridge.  Do not chill for more than 8 hours.  
  • Roll the dough out so it forms a long rectangle.  
  • Cut the butter in thin strips and place it in the center 1/3 of the dough.


  •  Fold one side over the butter.

  • Then fold the other 1/3 of dough on top of that.


  • First turn- turn the dough 90 degrees so that the next time you roll, you roll it in the opposite direction.  
  • Lightly flour the surface and roll out the dough just like you did the first time in a long rectangle.  
  • Fold in three.
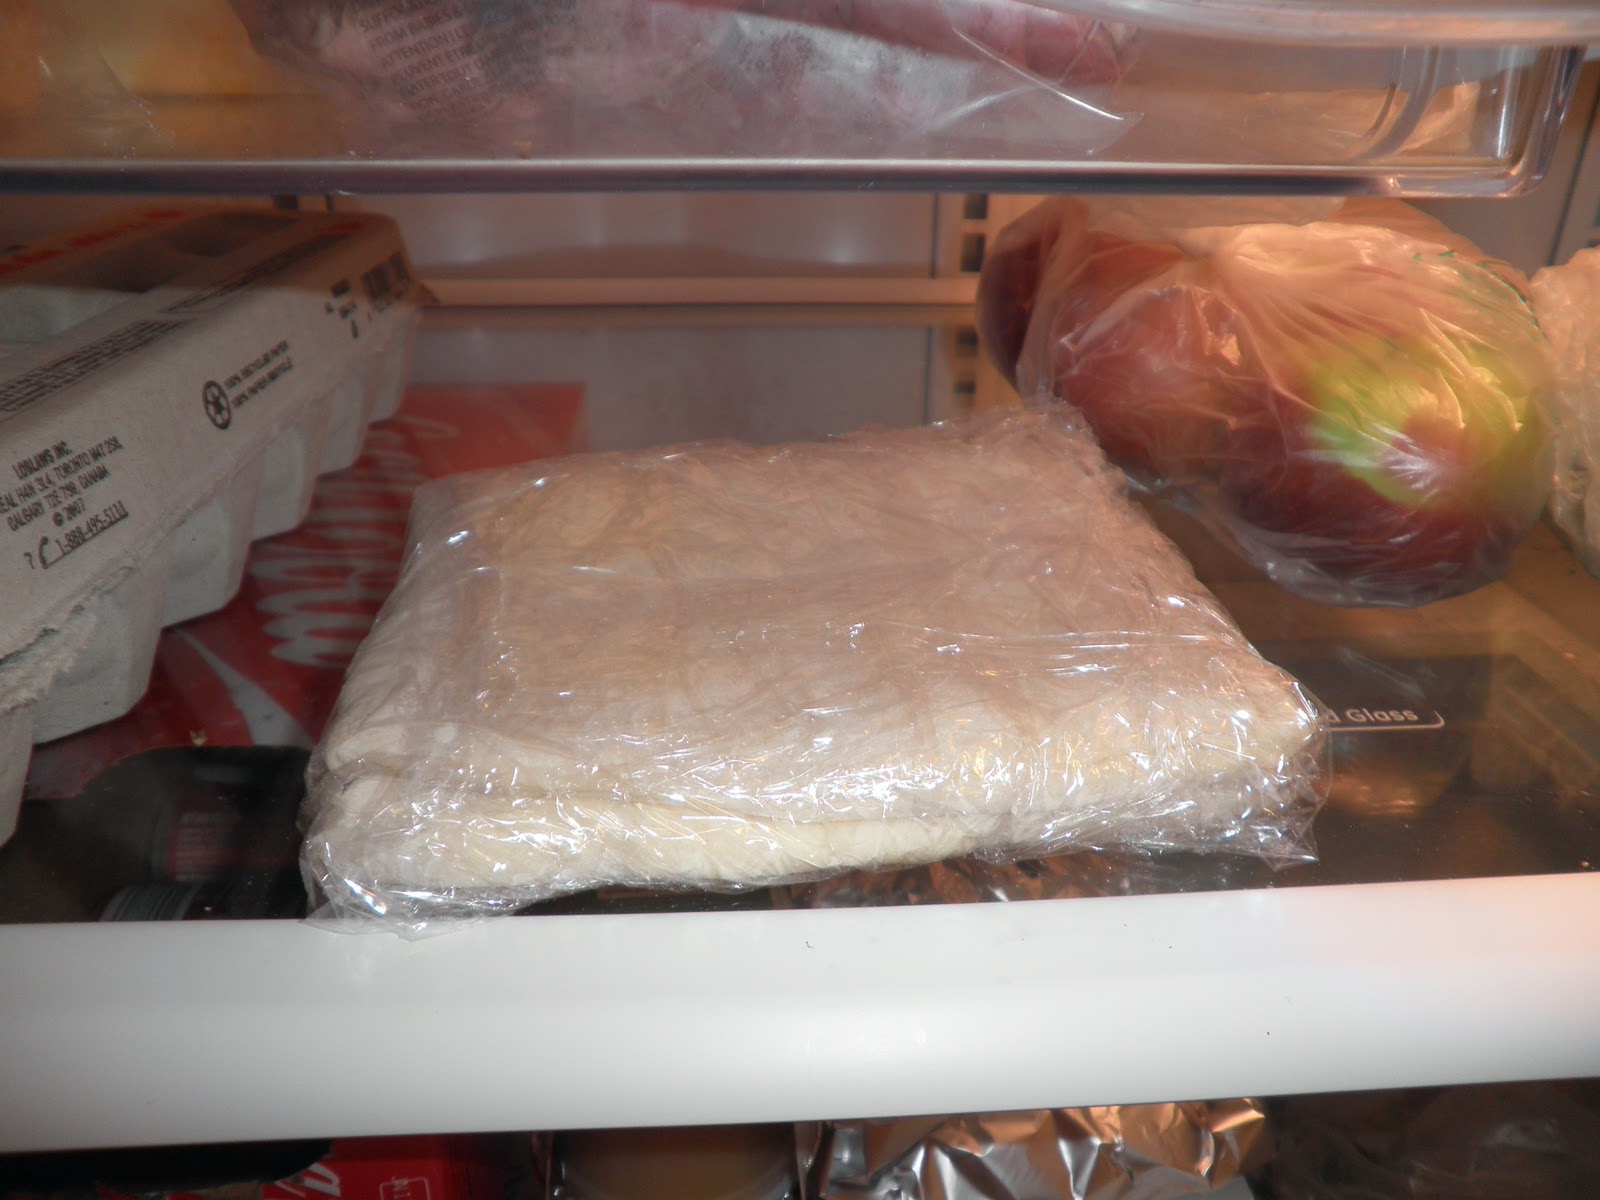
  • Wrap in plastic and chill for 30 minutes.


  • Second turn- give the dough a quarter turn, roll out to a rectangle, fold again, wrap and chill as you did for the first turn.
  • Third and final turn- roll the dough out in the opposite direction from the 2nd turn to a rectangle and fold as before.  Wrap in plastic and chill 30 minutes.  No more than 1 hour.
  • At this time, I cut the dough in half to make it easier to roll out.
  • Roll the dough out so that it is about 1/4 inch thick.
  • I cut mine into 10 even rectangles.


I usually like to use pain au chocolat sticks from King Arthur Flour, but I was out.  So I used whatever chocolate I had.  It happened to be these.  Love them!


  • I placed chocolate chips in the middle 1/3 of the dough.


  • Eggwash the bottom third of the dough.
  • Fold the top part over the chocolate, and then the bottom part with the eggwash.  This will help everything to stick together.


  • Flip them over so the seam side in down.
  • Press the edges together so no chocolate escapes during the baking process.
  • Using a sharp knife, cut a couple slits in the top so that steam can escape and they do not explode open in the oven.


  • Eggwash and proof in a warm place for 1-2 hours, so they can rise and double in size.
  • At this time, I turn the oven on to 350 degrees.  
  • Eggwash one last time before you put them in the oven for about 12-15 minutes.  You want to make sure they are a very golden brown!  There are many layers of flaky goodness in there and you want to make sure that all the layers have baked!  No one wants to eat a raw croissant!
  • Cool slightly and enjoy warm!


Look at all the flakiness! So yummy!


Now, I know this recipes takes time.  It can be intimidating the first time you try this.  But I promise, it is worth the wait and patience!  Store bought chocolate croissants do not even compare to these!  Hope you enjoy these as much as I do!

Happy baking!  :-)

Friday, September 23, 2011

Happy 1st Day of Fall!

Happy first day of Fall everyone!


Today is a rainy day, but I still wanted to get some pictures outside.  The leaves are starting to change and a lot of leaves have fallen off the trees because of this morning's rain.  I love summertime, but I don't like being too hot, so I love when the weather starts to cool down!  I think fall has to be my favorite season, and I only wish it lasted longer.  It always seems that once it becomes fall, it quickly gets very cold and turns to winter.  But today is the first official day so I have many more days to enjoy!

I know I have not posted in a long time!  I have been so busy!  I am getting married in 3 weeks and have been going back and forth between Pennsylvania and Canada trying to get everything ready for the wedding and then moving to Canada.  Then throw in there 2 weddings, one being in Minnesota, and a trip to Hawaii with some girlfriends!  That has left me very little time to bake!  But, I promise I have very exciting things coming up that you will see on here soon!  

So anyways... with the first day of fall, I had to make a delicious dessert to go with it.  My fiance LOVES pumpkin pie.  So guess what I made?!  Last night was his hockey night, so I was busy baking!  


 Just your good, old fashioned, delicious Pumpkin Pie!


I have a fall themed dinner planned as well, but I could not even wait until dessert to have some pie!  So after lunch, we enjoyed some creamy Pumpkin Pie!


...OBVIOUSLY you need it covered in fresh whipped cream as well!  Delicious!  


Happy Fall!

Tuesday, August 30, 2011

Weddings, Weddings and more Weddings!

Fall is always a busy time for weddings!  I just went to a wedding last weekend, I have another one this weekend and then I get married in October.  So, I of course had to make some wedding cookies!


Last weekend, my fiance's friend Mike got married so he gave these cookies to them at the rehearsal dinner.  


All wrapped up and ready to go!

Friday, August 26, 2011

Bouquets and Coloring


This is the first cookie bouquet that I have made.  They were for my fiance's Grandma.  


This present cookie was my favorite!  I also LOVE these colors together!  I was not sure what her favorite colors were, so I just made them colors I would like.  :-)  


All wrapped up and ready to go!  :-)

I got all my cookie bouquet supplies from Karen's Cookies.  I get a lot of my supplies from there.  The cookie sticks, the cookie boxes, the plastic bags (that are on each individual cookie and then a big one around the whole cookie bouquet) and all the food color.  They have a lot of great stuff, and you can get it in small quantities as well!  


These are only SOME of my food colors.  I have plenty more now.  They are AmeriColor.  They are a food color gel, so they won't make you icing (or whatever you are making) runny or taste funny.  Plus, they give an intense color so you only have to use a little bit of coloring to get your desired color.  Before I started using these, I was using the Wilton's food coloring in a little jar that you can find at Michael's Craft Store.  Well, if I had to color something red or black, I basically had to use the whole jar to get the correct color!  Now, I use a fraction of that to get the color I want.  


Thursday, August 25, 2011

It's been awhile...

Hi everyone! I know it has been awhile, but I am back and I have lots of exciting things coming up in the next few months.  Lots of cookies on the way!  


This was the first big cookie order that I shipped.  4 dozen.  I was a bit nervous because I had shipped a small order one other time, and a couple of the cookies broke.  These cookies were shipped from Pennsylvania to North Carolina and every single one made it there safely!  Phew!  


Enjoy!  Keep an eye out because I have lots of new and fun cookies coming this way!


Friday, August 05, 2011

New to Facebook!

I got all my cookie pictures together and made a Facebook page!  So you can check me out on there.

Desserts by Annie on Facebook

Be sure to check back here in a couple weeks for some brand new cookie designs!