Wednesday, October 26, 2011

Caramel Apples

For my wedding, I had all these great ideas for different things I could make for favors.  I had just gotten all these new wedding cookie cutters, so I had some great ideas for different cookies I could make.  

Story of my life... SO many ideas, SO little time!

Then, I got sick!  The week before our wedding, both my husband and I were sick.  

Ohhh great... I thought.  Just what I need.  I have lots of little last minute things to do for the wedding, and I don't have time for being sick.  He got better in just a few days.  Not me.  I had to miss Canadian Thanksgiving the weekend before the wedding.  

All those cookie ideas went out the window.  Cookies take days to make!  From baking the cookies, and icing the base of the cookies.  Then, letting that dry.  Next are the details.  Let them dry.  Then, the next day... bag them up.  AT LEAST 2 days, but probably 3.  

By the end of the week I was starting to feel a little better.  My Mother in Law said maybe I should look into buying caramel apples to give out.  Hmm... I had to figure out how to make them.  I didn't need to buy them!  So, I found out how to make the caramel apples, and then I went to the store to buy the apples and caramel.

Caramel Apples 
1- 14 oz bag of caramels
2 Tbsp. water
6-8 Granny Smith apples, remove the stems
Cookie sticks (you can find them at Michael's or Karen's Cookies

1. Wash and dry the apples.

2.  Push the cookie sticks 3/4 of the way into the top of apple where the stem was.  (Tip: after a few apples, my hands started to hurt.  I took a metal measuring cup and used it as a "hammer".  Just gently tap the stick until it goes in 3/4 of the way)

3.  Unwrap the caramels (yes... this is the most time consuming part!) and put into a pot.  Choose a pot that is deep enough that you can dip the apples into it, but one that is not too wide.  I used one that is 2 1/2 quarts.

4. Add the water to the pot and melt the caramels over low heat.  Stir constantly.  At the beginning I used a spatula to stir the pot.  Once the caramels started to melt, I started using a whisk.  Use whatever works best for you!

5.  Once the caramels are completely melted, dip the apple in and use a spoon it cover in caramel. (roll in any additional toppings like crushed nuts or chocolate candies that you wish)

6. Place on a baking sheet with a silpat or lined with parchment paper.  

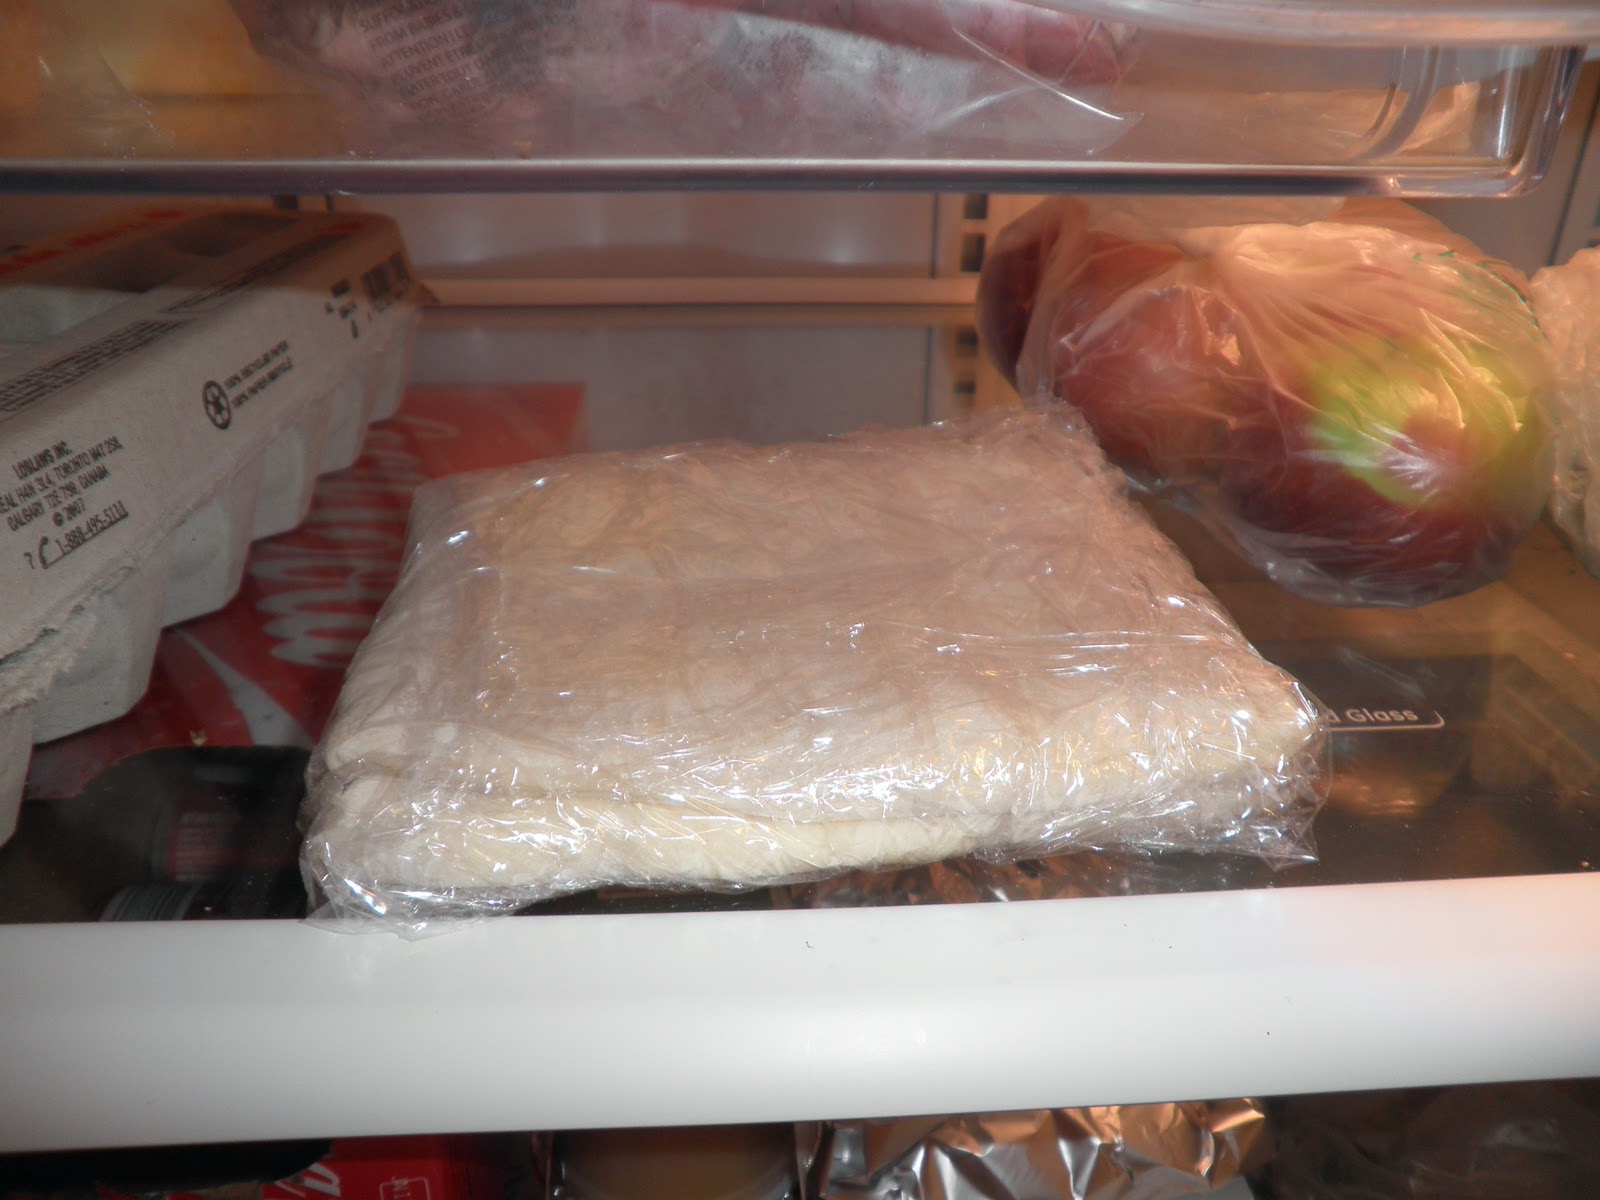
7. Once all the apples are dipped, place in the refrigerator so the caramel can set, at least 2 hours.  Keep in the refrigerator until ready to serve.  They are best if you eat them in the first 3-4 days.  But I have heard that you can keep them in the fridge for around a week.

8. Wrap in a plastic bag if you wish.  


Apples taking a bath in the sink.


Putting the sticks in the top of the apple.


Covering the apple in melted caramel.


All of the apples are covered!


Caramel Apples!


At my wedding dinner, I didn't get a chance to take too many pictures, but I found one with a caramel apple in it.  I wrapped them in plastic bags and tied them with purple or green ribbon.  Oh, and this picture happens to have my AMAZING bouquet.  I wish it would stay looking like that forever!  I have it drying upside down in the basement, so we will see what it ends up looking like.  My flowers were one of my favorite things of the wedding!  I still have a centerpiece in my living room a week and a half later!  A couple roses are starting to wilt, but most of it still looks nice!  

I told my husband that he needs to get the same exact flowers every year for our anniversary.  We will see!  

Make some caramel apples!  Super easy and so delicious!  

Tuesday, October 25, 2011

Happy Halloween

I love Halloween!  First of all, I have probably already mentioned that Fall happens to be my favorite season! The weather starts to cool down, and it is the beginning of the holiday season that I love so much!  Halloween starts it off.  Well... it used to start it off!  Now that I am married and will be living in Canada, Thanksgiving is in the beginning of October here.  I really feel like I have the best of both worlds.  Thanksgiving is the ONLY holiday that we can spend with both of our families.  We are here in Canada with my husband's family for Canadian Thanksgiving.  Then, we get to go visit my family for American Thanksgiving.  This year we are going to Boston to visit my sister and brother in law who have recently bought a house.  Every other Thanksgiving in my life has been at my parent's house.  So, it will be a little different this year, but I am so excited to see my sister's new home!  


Last Halloween was the first year that I was able to buy candy and pass it out to trick or treaters.  Every year before that in my adult life, I have lived in an apartment building and you don't really get trick or treaters there.    

So back to last year.  First of all, the Steelers were playing.  I LOVE the Steelers.  They are my team, and they are not always on here in Canada.  It normally turns out that the Buffalo Bills are on 2 channels.  Really?  Couldn't one of you have chosen a different game... like the Steelers?!?  So, I was happy that the Steelers were playing.  6pm rolls around and I start to see some kids outside in their costumes.  No one was coming to our house!  It turned out that almost all of my neighbors were sitting at the end of their driveways with their bowls on candy.  No one was coming to my house because it obviously was too much work to walk up to my door when everyone else was sitting outside.  Also... it had SNOWED on Halloween!  It stopped by trick or treating time, but still.  

So... even though the Steelers were playing, off I went to get my chair from the garage to sit at the end of the driveway in my winter coat, with a blanket on to pass out candy.  You might be wondering where my lovely boyfriend (at the time) was.  Oh, he was inside wanting nothing to do with sitting outside in the cold and passing out candy to kids.  He came out briefly to bring me some hot tea.  The quickly went back inside to watch football.  

This year I will not be able to give out candy on Halloween.  I am a little disappointed, and then I remember that I won't be here on Halloween because I will be laying on the beach in the Caribbean with my husband for our honeymoon!

So I made some Halloween cookies this past week.  Hope you enjoy!


Large Happy Halloween cookie!


Lots of icing ready for decorating!


Dining room table filled up with cookies!


Candy corn, spiderwebs and pumpkins.  I was running out of room, so they were drying on the bench in the living room. 


All different colored spiderwebs. 


Candy corn!  Simple, yet one of my favorites!  I also LOVE the real thing!  I need to be good and not buy too much of it because it disappears very quickly!  


More spiderwebs.  Love the bright and vibrant colors!


Lots of pumpkins.


I love how these Jack O' Lantern cookies turned out!  They were a big hit too!


These fall leaves were inspired by the amazing Sugar Belle.  I have made these a lot.  They have been a big hit!  I now love using the color mists.  Makes me want to get an airbrush machine!


These ghosts were the most simple cookies I made, but I think they were one of the most popular with the kids.  


I hope everyone has a fun and safe Halloween!  I will be enjoying some candy on the beach for my Halloween.  :-)  

Wednesday, October 19, 2011

Pumpkin Cream Cheese Dip

Well, a lot has been going on for me since last time!  I now am a married woman!  Last Friday night, I married my college sweetheart after meeting more than 6 years ago.  I have been a very lucky girl in the past couple of months.  After the summer, I came up to Canada to see my fiance and went to his friend's wedding in Toronto, then we went to Minnesota for his best friend from college's wedding.  A few days later I was off for a week in Hawaii with 2 of my friends from high school.  Then, back to Canada, then Pittsburgh and back to Canada to get married!  Phew...  I feel like I have been living out of my suitcase!  But my favorite trip comes in a little more than a week.  We leave for our honeymoon in the Caribbean!  This will be our first "big" trip together, so I am super excited!!!

Us on our wedding day!

ANYWAYS, back to the desserts!

Fall is probably my favorite season!  I love being able to wear jeans and a sweater after shorts and tank tops in the summer heat.  I especially love all things pumpkin.  Pumpkin pie, pumpkin pancakes, pumpkin cupcakes, and pumpkin dip!  And apples... I love all kinds, but McIntosh and Granny Smith are probably my favorite.  

I am not really sure where this recipe came from, but my mom found it years ago and we have been making it ever since.  So many great flavors: pumpkin, cream cheese, orange, cinnamon, nutmeg and more!  


 Make sure you pull the cream cheese out of the fridge a few hours before you start so it has time to soften.  This will make it so much easier to mix, and you will get a nice, smooth and creamy dip.  


Pumpkin Cream Cheese Dip
1- 8 oz. package of cream cheese, softened
1 1/2 cup powdered sugar
1- 15oz. can pure pumpkin
1 tsp. cinnamon
1/2 tsp. nutmeg
1/2 tsp. ginger
1/4 tsp. cloves
1 tbsp. orange juice OR 1 tsp. orange extract

With an electric mixer or food processor, blend cream cheese and sugar until smooth.  Scrap down the bowl.  Add pumpkin and remaining ingredients and blend thoroughly.  

Chill for 30 minutes or until ready to serve.  

Serve with gingersnaps, apples and/or pears.  Slice the apples and pears into 1/2 inch slices.  *Toss the fruit with a little lemon juice mixed with water to prevent browning.  


Mmm... it's like pumpkin pie and pumpkin cheesecake with a touch of orange in a bowl.  Of course, you can dip the apples, pears and gingersnaps in the dip, but I sometimes like to eat it with a spoon.  It's that good!  Another thing that is good to know is that this freezes very well!  Just put it in an airtight container and you can freeze it for at least a month or two!  

Since we will be on our honeymoon for Halloween, I am working on some Halloween treats this week to enjoy a week early!  I will post about them later this week.  

Sunday, October 09, 2011

Happy Canadian Thanksgiving!

Happy Thanksgiving weekend to all the Canadians!  

Here are some leaf cookies that I made that were inspired by SugarBelle.  


It has been such a beautiful weekend here!  Could not have asked for better weather!  Too bad I am sick!  :-(  No Thanksgiving for me today.  It is also too bad that next weekend is not going to be as nice out.  That is my wedding weekend.  And it is supposed to rain.... 

Ahhh...  only time will tell!

I hope everyone is out enjoying this beautiful weather that we have been blessed with!

Monday, October 03, 2011

Pain au chocolat

Hi everyone!  In the last few days the weather has gotten considerably cooler and rainy.  So after I watched my favorite football team play yesterday (Go Steelers!), I decided that I would bake something.  I always have a long list in my mind of things that I would like to try.  However, I decided on a tried and true favorite...  Chocolate croissants!! 

My love for them started in Culinary school.  The first class that I took was a bread class. I thought chocolate croissants would come later in my breakfast and pastries class.  Nope!  Much to my surprise, I was making these delicious little treats only a few weeks into school.  Every 2 month cycle (that is how long each class would last), I would go back to the breads instructor and he would give me a chocolate croissant from his demo batch.  Yum!  I was hooked!  

So when my sister gave me this book... 

Pastry: Savory and Sweet

and I found that there was a recipe for them, I had to try it!  Now this book has tons of good recipes for all things with pastry.  Pies, savory tarts, puff pastry, brioche, croissants, pate a choux (cream puffs), pizza dough and more!  If you like all those things, you would really like this book!  

Anyways... back to the croissants!

Chocolate Croissants
1 oz fresh yeast  (this really is better than the instant yeast and you can find it in most grocery stores these days by the butter)
generous 1 cup whole milk
3 1/2 cups all purpose flour
2 tsp. fine salt
1/4 sugar
1 1/4 cup butter, cold but not too hard
eggwash (beat 1 egg yolk with 1 tbsp milk)
Chocolate chips

  • Break the yeast up so it crumbles into a bowl.  Add the milk.  Let it sit for a minute or so and then mix with your fingers so the yeast dissolves.
  • Put the flour, salt and sugar into a mixer bowl.  Use a stand mixer with a dough hook.
  • Turn the mixer on low, gradually adding the yeast mixture.
  • Stop working the dough as soon as a nice ball forms and it does not stick to the sides of the bowl.  (If it is dry, slowly add a little bit of milk until it comes together.  If it is too wet, slowly add a little bit of flour.  You want it to form a ball, but not be too sticky to the touch.)


  • Cover the bowl with plastic wrap and let the dough rise in a warm place (about 75 degrees) for about 45 minutes to an hour.  It should double in size.  
  • Knock back the dough by flipping it over and letting the gases out, but do not over work the dough.  Do this gently.  
  • Cover the bowl and chill for 4 hours in the fridge.  Do not chill for more than 8 hours.  
  • Roll the dough out so it forms a long rectangle.  
  • Cut the butter in thin strips and place it in the center 1/3 of the dough.


  •  Fold one side over the butter.

  • Then fold the other 1/3 of dough on top of that.


  • First turn- turn the dough 90 degrees so that the next time you roll, you roll it in the opposite direction.  
  • Lightly flour the surface and roll out the dough just like you did the first time in a long rectangle.  
  • Fold in three.
  • Wrap in plastic and chill for 30 minutes.


  • Second turn- give the dough a quarter turn, roll out to a rectangle, fold again, wrap and chill as you did for the first turn.
  • Third and final turn- roll the dough out in the opposite direction from the 2nd turn to a rectangle and fold as before.  Wrap in plastic and chill 30 minutes.  No more than 1 hour.
  • At this time, I cut the dough in half to make it easier to roll out.
  • Roll the dough out so that it is about 1/4 inch thick.
  • I cut mine into 10 even rectangles.


I usually like to use pain au chocolat sticks from King Arthur Flour, but I was out.  So I used whatever chocolate I had.  It happened to be these.  Love them!


  • I placed chocolate chips in the middle 1/3 of the dough.


  • Eggwash the bottom third of the dough.
  • Fold the top part over the chocolate, and then the bottom part with the eggwash.  This will help everything to stick together.


  • Flip them over so the seam side in down.
  • Press the edges together so no chocolate escapes during the baking process.
  • Using a sharp knife, cut a couple slits in the top so that steam can escape and they do not explode open in the oven.


  • Eggwash and proof in a warm place for 1-2 hours, so they can rise and double in size.
  • At this time, I turn the oven on to 350 degrees.  
  • Eggwash one last time before you put them in the oven for about 12-15 minutes.  You want to make sure they are a very golden brown!  There are many layers of flaky goodness in there and you want to make sure that all the layers have baked!  No one wants to eat a raw croissant!
  • Cool slightly and enjoy warm!


Look at all the flakiness! So yummy!


Now, I know this recipes takes time.  It can be intimidating the first time you try this.  But I promise, it is worth the wait and patience!  Store bought chocolate croissants do not even compare to these!  Hope you enjoy these as much as I do!

Happy baking!  :-)